Evacuation Shelters: What to Expect and What to Bring
From arriving empty-handed to settling into a shared sleeping area: a practical guide to check-in, personal essentials, family needs, and the next destination.
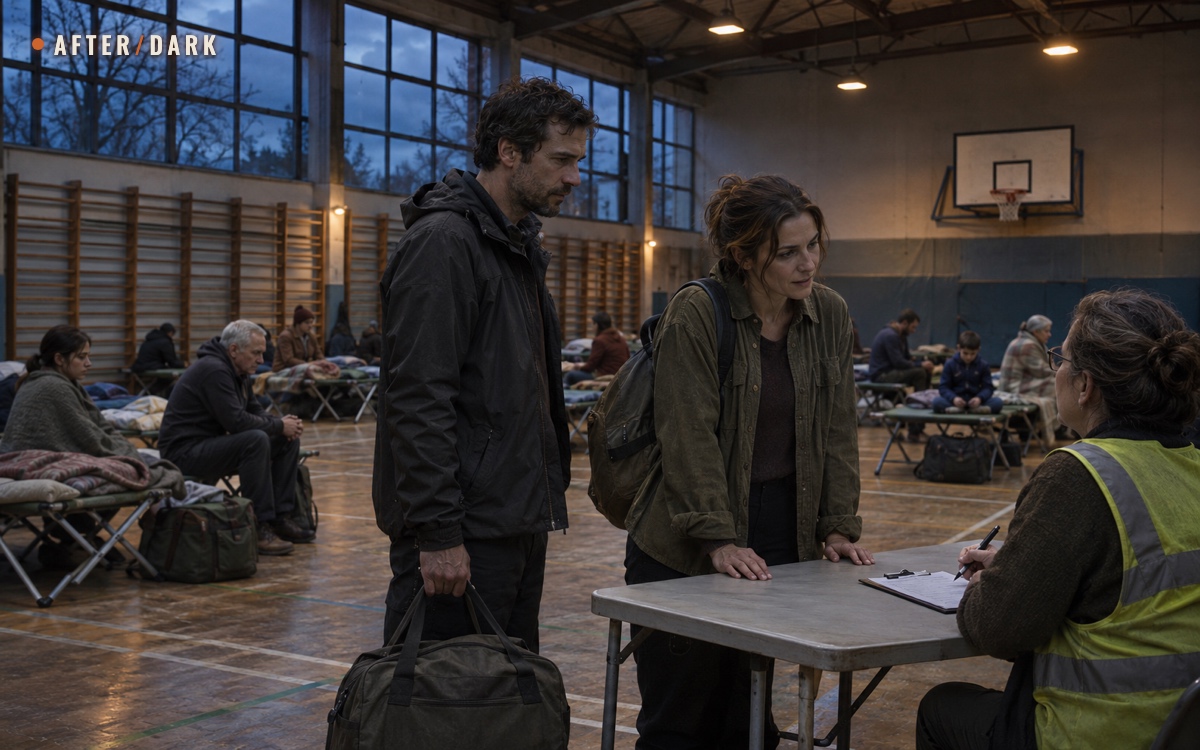
Short answer
Key takeaways
- Arriving without a packed bag is a reason to explain your needs at reception, not to abandon asking for assistance.
- Confirm the facility's role: registration and referrals may happen somewhere different from overnight accommodation.
- Pack for the journey you can actually make, prioritizing personal essentials over bulky comfort items.
- Tell staff about access, communication, children, and pet arrangements before settling into an unsuitable space.
- Before moving on, confirm the receiving location, transport, and next check-in; update your household contact.
You may reach an evacuation shelter with a carefully packed bag, a child and a carrier, or only what was in your pockets when you left. The immediate task is the same: get registered, make your needs understood, and establish where you will spend the next few hours.
A school, sports hall, or community building can become temporary accommodation while homes and everyday services remain unavailable. This guide follows arrival, the first night, and moving on. It also explains what to bring when you have time to prepare, without assuming that everyone arrives prepared.
Start Here If You Arrive Without Supplies
Go to the staffed reception or intake point and explain what happened. A useful opening is: “We have had to leave our accommodation. There are three of us, and we have no overnight supplies or working phone.” Say if someone cannot manage the queue or needs help communicating.
Then deal with the immediate gaps in order:
- Establish where you should wait. Ask whether this is the right intake point and whether it provides overnight accommodation. Keep your group together while the next step is arranged.
- Name what you need now. Ask where drinking water, toilets, and available food are, then explain missing personal supplies, clothing, or bedding. Specific requests are easier to act on than “we have nothing.”
- Ask for help contacting someone. If your phone is missing or flat, say so. Give a remembered number or whatever contact information you have; if none is available, explain who you need to reach. Ask staff what contact or reunification assistance is available.
- Confirm the next action before stepping away. Find out who will call you, where you should remain, and whether you are waiting for a sleeping space, supplies, or onward transport.
Missing identification or money should be stated at reception. For example, American Red Cross shelters provide free disaster assistance and do not require identification for entry. That is an operator-specific policy; ask the staff handling your arrival how they record your details.
Do not delay an instructed evacuation to finish packing or return for belongings. Follow local departure instructions with the people and immediately accessible essentials you can take.
Confirm Where You Are Being Sent
Use the current location announced by local authorities or the shelter operator. An old map pin, a school used during a previous incident, or a social-media photograph does not establish that a facility is open today. Shelter openings are incident-specific; instructions may come through local radio, public announcements, or responding staff as well as online.
Ask what the destination does. Names such as evacuation centre, reception centre, rest centre, and shelter are used differently. North Shore Emergency Management, for example, distinguishes registration and support at a reception centre from sleeping and eating at group lodging. You may need a further transfer after arrival.
For a usable destination, identify the building, entrance, opening instructions, and whether the whole group can reach it. If you have no vehicle, say that before accepting a referral across town. The evacuation guide for people without a car covers the journey through to a place you can actually enter.
When preparing in advance, put the local authority's information channels in your household evacuation plan. Save how to find current arrangements, rather than treating one building as a permanent guaranteed shelter.
What Happens at Check-In
Expect staff to ask for details about you and the people with you. Depending on the operation, registration may use paper forms or a digital system. Listen for the actual process instead of joining a queue simply because other people are standing there.
State who is present, who is expected later, and whether anyone in your household is elsewhere. Keep any registration number, wristband, or paperwork you are given until staff explain whether it is still needed. If you cannot complete a form, ask for assistance with it.
Registering promptly and telling staff about individual requirements are central parts of Bradford's rest-centre guidance. Make your request concrete: a step-free route, somewhere to charge a mobility aid, written instructions, or help finding a family member.
Before settling in, get answers to these questions:
- Where do we sleep or wait, and who allocates the space?
- What food, drinking water, and personal supplies are available, and where?
- Where are the toilets, washing facilities, and staff desk?
- How are updates announced, including overnight changes?
- Who should we approach if the arrangement does not work for us?
You do not need every answer from the first person at the entrance. Ask which desk handles the unresolved issue and whether you should go there now or wait for someone to come to you.
If you are a visitor or do not speak the local language
Give the name and address of the accommodation you left, if known, rather than assuming staff recognize your booking platform or tour group. Explain whether you have a local contact and whether someone is expecting you elsewhere.
Identify the language you use and request interpretation or written information you can understand. NYC's shelter guidance explicitly provides for interpretation and alternative information formats; other operators have their own arrangements. Ask the person helping you to confirm the next location, time, and instruction before the conversation ends. If you have no phone or paper, ask for the essential details to be written down for you.
What Shared Shelter Accommodation Is Like
An emergency sleeping area may consist of rows in a hall, with other households close by and staff moving through the space. Large shared areas, limited privacy, and basic refreshments are realistic expectations. Arrival times differ, so your neighbours may still be checking in when you are ready to sleep.
Ask what bedding is actually being issued. Some facilities supply folding beds and blankets; others ask people to bring their own sleeping materials. Brevard County, for example, says its public shelters do not provide beds and may not retain electricity throughout the emergency. This is why a photograph of another shelter is a poor packing list.
Check the practical services that matter to your stay: meal times, drinking-water access, available washing facilities, and charging arrangements. A toilet does not imply a shower, and working ceiling lights do not establish that personal sockets are available. If something you need is absent, raise the specific gap with staff so it can become part of your placement or supply request.
Treat the space you are assigned as part of a shared room. Ask before moving beds or furniture, and keep your bags within the allocated area so other people can pass.
What to Bring to an Evacuation Shelter
Pack for the journey as well as the stay. A bag that looks sensible beside the front door may become unmanageable when you must carry it to a pickup, hold a child's hand, or change vehicles. Use the following priorities to adapt what you already own, within the preparation time available. Leave when instructed, even if the bag is incomplete.
The compact approach is consistent with taking an overnight bag if time permits. Your general evacuation bag can provide the foundation; this list focuses on using it in shared accommodation.
Packing priorities for a shelter stay: take accessible essentials first, then add what your journey allows.
| Priority | Items to consider | How to make them useful on arrival |
|---|---|---|
| Keep with you | Identification if available, keys, payment, contact details, essential documents | Use a small secure pouch; keep it accessible during registration and transfers |
| Personal necessities | Glasses, medications, mobility aids, and the personal items you already rely on | Keep these identifiable and easy to reach rather than buried under spare clothes |
| Clothing and hygiene | Weather-appropriate layer, spare underwear and socks, toothbrush, toiletries, menstrual products, small towel | Group a change of clothes together so you can use the washing area without unpacking everything |
| Communications | Phone if carried, its cable, compatible plug, charged power bank, paper contacts | Label the cable; keep contact information usable when the phone is flat |
| Rest | Compact blanket or sleeping bag if manageable; pillowcase, eye mask or earplugs if useful | Ask about bedding provision; leave bulky additions until essential needs and carrying capacity are settled |
| Food and drink | Drinking water and familiar ready-to-eat food you can carry, plus an appropriate utensil | Choose packaging you can open without a kitchen; bring items you know you can use |
| Children and pets | Child supplies, one small comfort item; pet carrier or lead and necessary pet supplies | Keep the next needed item accessible; check the centre's animal arrangements |
The table is a priority tool, not a requirement to own every item. If several adults are travelling together, decide who carries shared supplies while keeping each person's necessities readily available. Let children carry only what they can manage through the actual journey.
Use a small pouch for washing items and another for documents. A bag for damp or dirty clothing helps keep the rest usable. Before departure, close the main bag and lift it as you will carry it; if the load prevents you from handling the rest of the journey, remove optional bulk.
For advance preparation, the emergency document kit explains what information to organize and how to retain an accessible backup. Do not depend on being able to unlock a cloud account at the reception desk.
Make the Arrangement Work for Your Household
Children and accompanying adults
Explain who is responsible for each child and ask how the household will be placed. A particular set of adjacent beds may not be immediately available; discuss the arrangement before everyone unpacks. If the sleeping layout is unsuitable, return to the staff responsible for placement.
Show children the staff desk and agree on a recognizable meeting point inside the building. Tell them to approach staff if separated. If adults take turns queuing for supplies or making calls, explicitly hand over responsibility instead of each assuming the other is watching. A play area is not automatically a supervised childcare service; check before leaving a child there.
Use one small familiar activity or comfort item to make waiting easier. Explain the next known step in plain terms: where you are sleeping tonight or when the next update is expected. Avoid promising a return home before it has been confirmed.
Access and communication
Describe the particular barrier: “I cannot use those stairs,” “I need the announcement in writing,” or “I need room beside the bed for my mobility aid.” Ask who can resolve it. An accessible entrance alone does not tell you whether the sleeping space, toilet route, and information system work for you.
Walk through the assigned arrangement with staff before settling, where possible. Check the route you will actually use and how to request assistance overnight. If a transfer is proposed, carry the access requirements forward to the receiving site rather than assuming the original registration communicates everything automatically.
Pets and assistance animals
Tell reception about the animal before entering the sleeping area. Household pets may be accommodated separately from people, and arrangements differ by centre. Keep a pet secured with the carrier or lead you have; if neither is available, explain that at intake and request help with an arrangement.
If the animal is placed elsewhere, establish the location, identifying record, visiting or collection process, and who provides routine care. Keep any receipt or reference with your own registration information. Identify an assistance animal as such and ask for the applicable process rather than assuming the ordinary pet arrangement applies.
For advance packing and identification, use the pet evacuation kit guide. The useful outcome is knowing where both you and your animal will be, including after a transfer.
Settle Into the First Night
Once you have a place, arrange the few things you will need repeatedly. Keep shoes, an extra layer, and your essentials accessible. Place bags so you can get out of your space without stepping over loose belongings, and locate the route to the toilet and staff desk before trying to sleep.
Keep valuables accounted for. If you use a storage or charging service, ask how items are labelled and returned. Retain any collection slip. Keep documents, keys, and payment with you when leaving your sleeping area unless you have deliberately handed them into an agreed storage arrangement. Avoid spreading the contents of the entire bag across a shared floor.
Establish contact once you know your actual location. Send the facility name, who is with you, and how you expect to receive the next message. If you were redirected after check-in, update the earlier address. The family communication plan helps organize a single contact who can pass information to others.
Use shared facilities considerately. Ask where charging is allowed and how any queue works. Label your device or cable where practical and collect it as agreed. Keep calls and entertainment quiet, respect other people's sleeping areas, and follow the centre's rules for lights, food, cleaning, and waste.
Make announcements usable. Ask when the next update is expected and where information is posted. If light or noise makes rest difficult, ask whether a different position or quieter area is available. Before using earplugs, agree how you will receive an urgent instruction; the solution should improve rest without disconnecting you from essential information.
Report an unusable facility, missing essential supplies, or a problem with another resident to staff promptly. Explain the location and what needs attention. If the first person cannot resolve it, ask for the shift lead or the appropriate welfare desk. You do not need to solve a shared-room problem through an argument with a neighbour.
By the time you settle, you should know where your household is sleeping, where the essentials are, how to find staff, and how the next update will reach you. That is a workable first-night arrangement even when the wider situation remains uncertain.
If the Centre Is Full, You Are Transferred, or Home Is Still Unavailable
An onward referral needs enough detail to make the next journey possible. Before departing, confirm:
- The receiving place: name, address, entrance, and whether it is expecting you.
- The whole group: available places, access requirements, and animal arrangements.
- The transport: pickup point, approximate timing, what you can take, and what happens if the vehicle does not arrive.
- The handover: any registration reference or paperwork and who to approach at the destination.
If you have no money, phone, or independent transport, make that part of the request. An address across town does not resolve those gaps. Ask where you should wait while the arrangement is made, and tell staff if that waiting place is becoming unusable.
If a friend offers accommodation, confirm the invitation and access before checking out. Notify reception according to its departure procedure, collect stored items, and update your contact. Keep relevant paperwork together for the next check-in.
Raise longer-term accommodation needs before the last announced departure. Explain why you cannot return and ask which team handles the next placement or referral. A shelter transfer or closure notice does not establish permission to go home; follow the responsible local authority's return and re-entry instructions.
Zombie Scenario: The School Is Only the First Stop
Fictional scenario
During a fictional outbreak, a couple reaches a school with one bag and a flat phone. The school is registering evacuees, while overnight accommodation is at a different hall. They explain that they arrived on foot and cannot arrange their own ride. Before joining the designated transfer queue, they obtain the destination, pickup instructions, and their registration reference. With staff help, they update their household contact. Their useful achievement is a confirmed next step, rather than assuming that reaching the first building has finished the journey.
Frequently Asked
Do I need to reserve a shelter place in advance?
Can I ask for help without sleeping at the shelter?
Can I leave for work or school and return later?
What if members of my household arrive separately?
Can I use a shelter kitchen or refrigerator for my own food?
Can I take photographs or make video calls inside?
Will a hotel booking be paid for if the shelter sends me there?
How long can I stay in an evacuation shelter?
Sources
- American Red Cross — Disaster Shelters: Find an Open Shelter
- North Shore Emergency Management — Evacuations on the North Shore
- Bradford Council — Preparing for Emergencies: Rest Centres
- City of Cape Coral — Evacuations & Shelters
- Brevard County Emergency Management — Preparing for an Emergency: Have a Plan
- Oldham Council — Evacuations
- NYC Emergency Management — Disabilities, Access & Functional Needs
Related guides
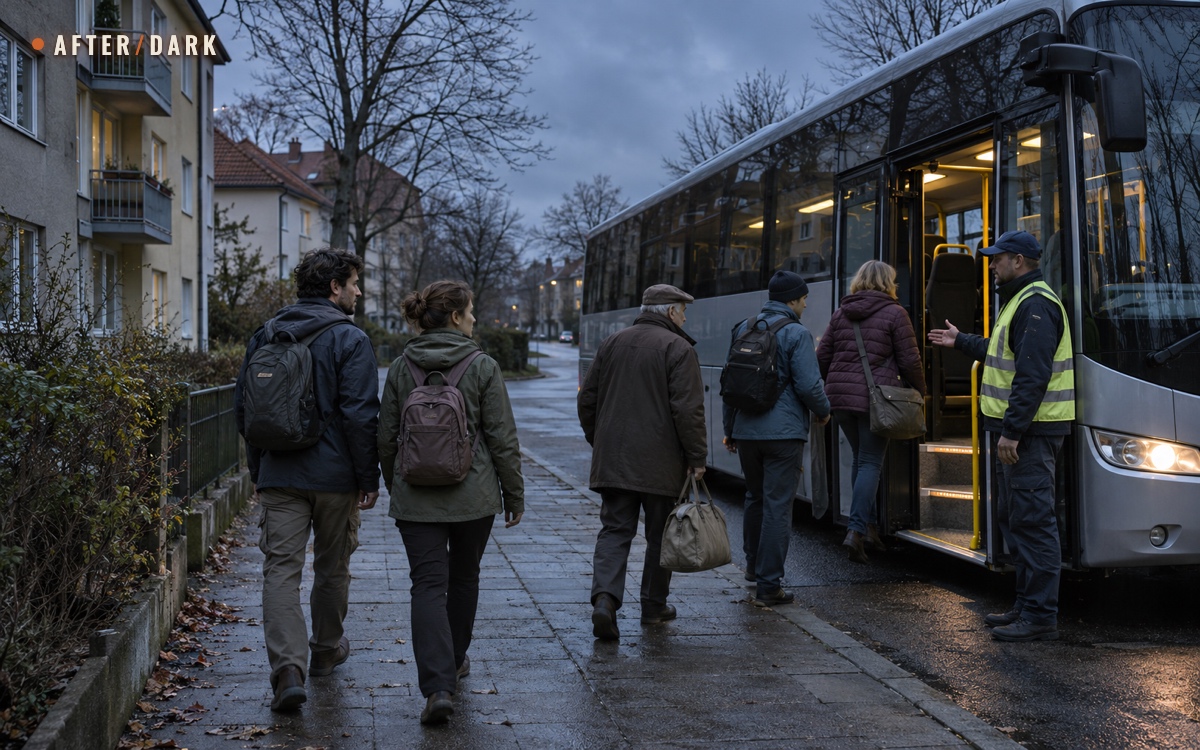
How to Evacuate Without a Car
Build a departure plan that covers the whole journey, from your front door to a place you can actually stay, with transport you and your household can use.
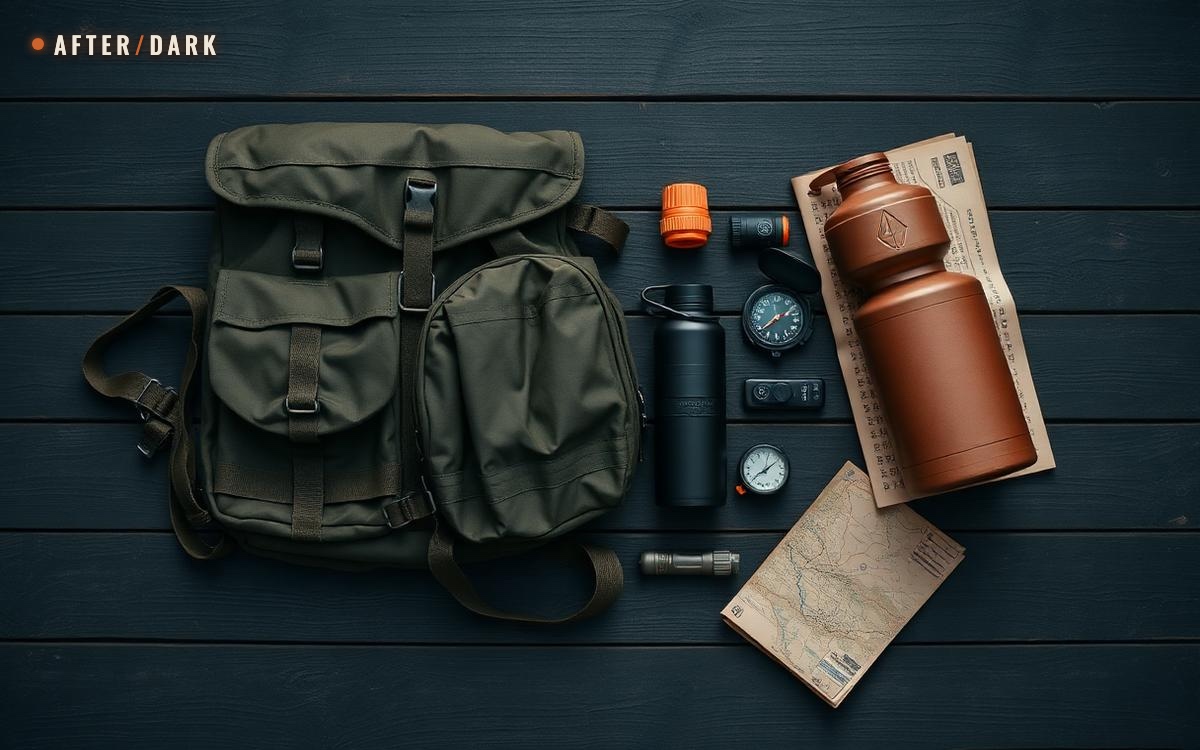
How to Build an Apocalypse Bug-Out Bag
Build a portable evacuation kit around a real destination, route, household, and loaded walk test—not a generic pile of emergency gear.

How to Build a Grab-and-Go Emergency Document Kit
Create a compact, protected document system that remains usable during an evacuation, extended outage, or loss of internet access.