How to Desalinate Seawater Without Electricity
Make a workable coastal water plan with the resources you have: simple distillation, sunlight, or a seawater-rated hand pump.

Short answer
Key takeaways
- Match the method to a complete set of resources: cookware and heat, a solar collector and sunshine, or a seawater-rated manual pump.
- In a still, the fresh water is the separately collected condensate; the remaining feed becomes more concentrated brine.
- Without equipment, inspect nearby non-tidal freshwater outlets and places where rain gathers naturally.
- Count startup, cooling, transfers, and cleaning when measuring useful output.
- Keep the receiving vessel and fresh-water outlet separate from seawater, spray, and brine.
At a coastal stop during a long disruption, seawater can become a source of fresh water if you can separate the water from its dissolved salt. This guide covers small setups you can operate without an electrical supply, from a cooking-pot still to a manual seawater pump.
The two useful processes are distillation and reverse osmosis. Distillation captures water vapor and condenses it in a separate receiver. Reverse osmosis uses pressure and a suitable membrane to separate a fresh-water stream from a concentrated waste stream. Simply boiling an open pot leaves the salt in the water remaining there.
If You Have No Equipment at the Coast
You have no bottle, pot, sheet, pump, map, or working phone. Start by observing water that is already present in your immediate surroundings. The attainable first result is an accessible freshwater collection point; constructing a still comes later only if its materials become available.
If you have lost your route, follow the principle of staying locatable and conserving effort. Keep these observations near your stopping place instead of turning a water search into a climb along unfamiliar cliffs.
- Look toward water arriving from the land. From firm ground, inspect a visible stream crossing, a trickle emerging from a bank, or a channel draining a nearby slope. Streams can be continuous, seasonal, or present only after rain, so look for actual flow rather than an empty channel alone.
- Distinguish the outlet from the tidal mixing area. Notice where seawater or wave wash reaches it. At river mouths, fresh water and seawater can mix into brackish water. A stream entering the beach is a candidate to investigate from accessible ground on the landward side, not proof that the pool at its mouth is fresh.
- During rain, watch nearby natural collecting points. Look for hollows in exposed rock beyond tidal water and sea spray, and observe where new runoff gathers. Leave the basin intact. A cupped hand can receive a small trickle at a reachable point, but without a vessel you are working at the source rather than carrying a reserve away.
These observations help you locate water; its appearance does not establish drinking quality. Rain also picks up material from the surfaces it runs over. The guide to finding and collecting fresh water develops this branch, while the methods below apply once you have the resources to process seawater.
Choose a Method You Can Finish
Count the receiver as part of the equipment. Heat without a way to catch condensation, or a pump without somewhere to put its output, leaves the job incomplete.
Choose by the materials and operating conditions available at your stopping place.
| Your resources | Workable route | What limits the result |
|---|---|---|
| No equipment | Inspect nearby freshwater outlets and natural rain collection points | Accessible water actually present; no carried reserve |
| Deep pot, suitable lid, heat-safe receiver, permitted outdoor heat | Pot distillation | Fuel, condensation, receiver space, and cooling between batches |
| Basin, smaller receiver, clear food-contact sheet, sunshine | Solar distillation | Sun exposure, collecting area, seal, and time |
| Seawater-rated manual desalinator with its hoses | Hand-powered reverse osmosis | Model-specific output, pumping effort, maintenance, and feed conditions |
| A ready freshwater source becomes available | Collect it and use a suitable freshwater-treatment method | Collection and treatment resources |
Choose a seawater intake away from known sewage or chemical discharge, fuel spills, and pollution advisories. Small-scale desalination is not a complete treatment plan for chemically polluted water: some volatile chemicals can carry over during distillation, and membrane systems have specific treatment claims. Set the collection work on stable ground where waves and spray cannot reach the clean equipment.
Distill Seawater With a Pot and Heat
The pot-and-cup arrangement puts seawater around an empty receiver. Vapor condenses on an inverted lid and drips into that receiver. The cup stays separate from the seawater throughout the process.
Check the fit before adding water
Gather a deep cooking pot, a sloping metal lid that rests on it upside down, a stable heat-safe collection cup or bowl, dry heat-resistant mitts, and a suitable heat source with fuel. Use materials intended for cooking and food contact. The lid's low point must sit above the receiver without touching it.
Set the empty pieces together first. The receiver needs a secure base and a rim well above the planned seawater level. If it needs raising, use a stable heat-safe support that fits the pot; check that the receiver cannot slide or tip. A raised collector under an inverted lid is an established demonstration of this geometry. A container that floats or wobbles when water is added needs a different support or a different pot.
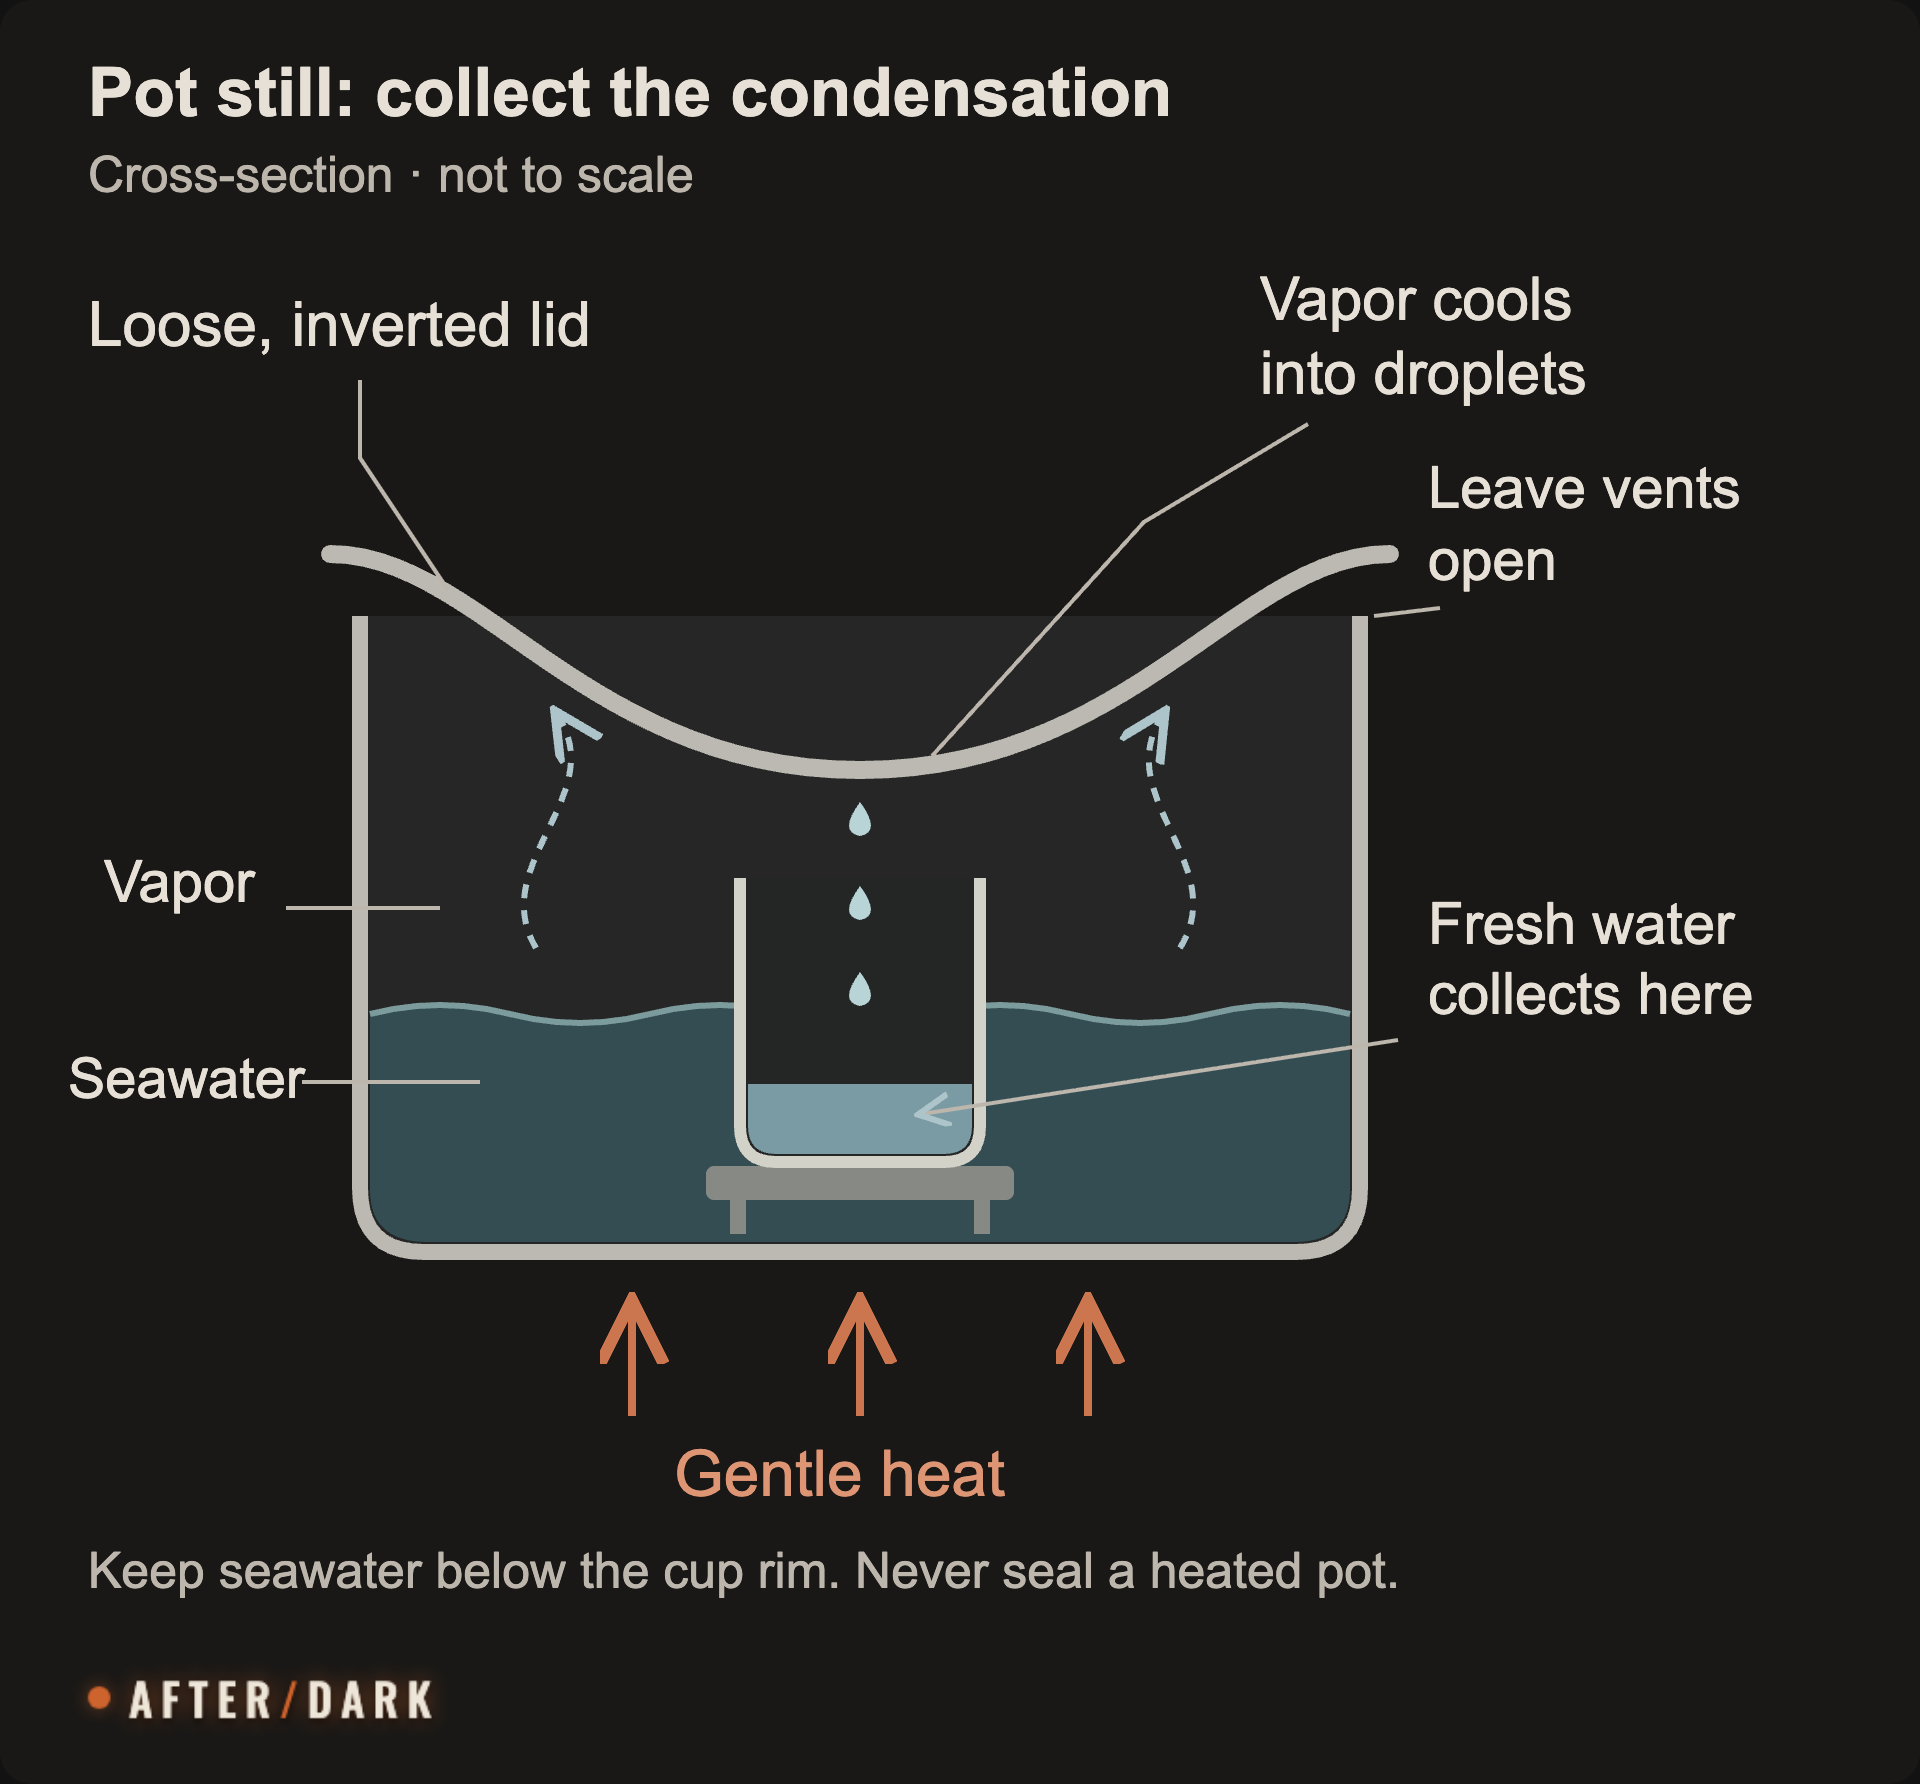
Clean the receiver and the lid surface that will face the vapor. That surface becomes part of the fresh-water path when the lid is inverted. Place a clean cover and the final storage container nearby, along with a heat-resistant landing place for the hot parts.
For a fuel-burning camping stove, work outside tents, vehicles, and enclosed shelters. Follow its cookware limits and local fire restrictions. The off-grid cooking guide covers the wider stove arrangement.
Run and collect a batch
- Add seawater around the empty receiver. Leave a generous gap below its rim so movement and gentle bubbling cannot spill feed water into it. Keep the outside pot stable while filling.
- Rest the inverted lid on the pot. Its low point should direct drips into the receiver. Do not clamp, tape, or otherwise seal a heated pot, and leave its vent openings unobstructed.
- Heat gently. Aim for steady vapor production without violent bubbling or splashing. Stay with the setup and keep enough feed water in the pot to prevent it boiling dry.
- Check where the condensate goes. It should enter the inner receiver. If checking requires lifting the lid, stop heating first, use the mitts, and lift it away from your face. Allow steam to escape before reaching over the pot.
- Stop before the receiver overflows or the feed runs too low. Let the equipment cool enough to handle safely. Remove the receiver without tipping the surrounding brine into it, and cover the collected water.
- Measure and transfer the output. Let hot water cool before putting it into a bottle that is not rated for that temperature. Empty and reset the cooled pot for the next batch, keeping brine away from the receiver and storage vessel.
The finished amount is the water in the inner collector. Water missing from the outer pot may have escaped as vapor rather than reached that cup. If salty feed splashes into the receiver, set that mixed batch aside, clean the fresh-water path, and correct the water level or heat before restarting.
Make the next batch easier
A smaller feed charge is easier to inspect, but running the pot dry is not a useful endpoint. End the first run early enough to learn how the receiver and remaining feed look. Use that observation to plan subsequent checks; a different flame setting or wind condition can change the pace.
If this is your only cooking pot, it remains occupied through heating, collection, and cooling. Transfer the finished water before using the pot for a meal, and reserve fuel for both tasks. A spare receiver can simplify the handover, but do not swap it while reaching through active steam.
Build a Basin Solar Still When Sunshine Is Available
A solar still uses the same vapor-and-condensation process with sunlight supplying the heat. For a simple contained version, you need a broad basin, a smaller empty cup, clear food-contact plastic film, something to secure the film around the rim, and a small clean weight.
The Florida Solar Energy Center's basin design demonstrates the arrangement. Its classroom activity establishes how collection works; it does not provide a dependable daily drinking-water yield for a beach camp.
- Place the basin on stable, level ground in full sun, beyond wave wash and spray.
- Put the empty receiver in the center. Add seawater around it, keeping the feed well below its rim.
- Stretch the clear film across the basin and secure its edge. Keep the underside clean because condensate will run along it.
- Put the small weight above the receiver to create a shallow low point. The film must remain clear of both the receiver and the seawater.
- Let the sun heat the enclosed water. Look for droplets underneath the film and check that they converge over the receiver rather than return to the outer basin.
- When collecting the output, remove the cover carefully, lift out the cup without spilling feed into it, then refill and reseal the setup as needed.
The solar enclosure needs a reasonably tight edge to retain moist air. That differs from the loose lid on the directly heated cooking pot: never transfer the solar setup's sealing approach to a pot over a stove.
Judge the output at this site
Keep the receiver aligned as the film warms, sags, or moves in the wind. If drops fall beside the cup, adjust the slope or receiver position. Avoid opening the film repeatedly just to look; you can observe condensation through a clear cover.
Measure a completed collection over a recorded exposure period. Include the time of day and whether the basin stayed in sun. Droplets on the cover show that condensation is occurring; the amount recovered in the cup tells you what the arrangement contributes.
A bright morning test does not establish an overnight or cloudy-day supply. If your stop is shaded, the exposure window is short, or little water reaches the cup, use that result to choose another available route. During rain, consider using the suitable sheet and receiver for rain collection, with the clean collecting surface facing upward. The same sheet cannot perform both jobs at once.
Use a Hand-Powered Seawater Desalinator
A manual reverse-osmosis unit trades fuel and sunshine for pumping work. Pack the complete seawater-rated device, including its intake screen, feed and brine hoses, fresh-water outlet, instructions, and maintenance supplies. Its fresh output and concentrated discharge must remain separate.
Read the exact model designation before following a worked procedure. Similar-looking units can use different startup cycles and storage arrangements. The example here is the Katadyn Survivor 06, model 8013419, rather than every product carrying the Survivor name.
Start the pump and collect the correct outlet
The operating manual for model 8013419 specifies this sequence:
- Unpack the intake screen and hoses. Submerge the screen fully in suitable seawater, keeping the smaller fresh-water hose outside the receiving bottle initially.
- Support the end cap with one hand and operate the handle with the other, using full strokes at about 40 strokes per minute. If it does not draw water, hold the unit near or below the water level and pump faster until seawater circulates, then return to the normal pace.
- Once the fresh-water outlet starts dripping, discard the output for at least 80 strokes, approximately two minutes. This clears the startup salt and preservative before collection.
- Move the fresh-water hose to the clean receiver and continue pumping. Keep its end protected from raw water and ground contact.
Arrange the brine outlet so it does not feed concentrated discharge straight back into a small intake bucket. If you supply the unit from a bucket, replace depleted feed with suitable seawater and collect or route brine separately. Put both vessels within reach on stable ground; an awkward hose arrangement can consume much of the apparent benefit of a portable unit.
Plan around actual pumping time
The matching technical fact sheet rates output at 0.89 liters per hour, with a ±15% tolerance. That is a model-specific rating, not a promise for any portable pump.
As an editorial calculation, two liters ÷ 0.89 liters per hour is about 2 hours 15 minutes of pumping at the nominal rate, before startup, pauses, transfers, or maintenance. A compact unit may fit easily in a bag while still requiring a long working session for a modest collection.
Measure your own output after the required startup discard. If another person takes over, pass on which hose is the clean outlet and whether startup has been completed. Protect that outlet while changing receivers so the next person does not need to reconstruct the arrangement.
A hard-to-operate pump needs inspection under its troubleshooting instructions, not adjustment of a factory relief valve. For the cited model, check the intake screen and source conditions; protect the membrane from petroleum contamination, drying, and unsuitable cleaning chemicals. Complete its specified preservation procedure before storage. Other models may require a different service or return process.
Calculate Usable Output Before Committing More Time
Use the first completed collection to decide whether the method fits the next task. Write down the amount that reached the finished-water container, the full elapsed time, and the fuel or other consumables used if you can measure them.
Observed output rate = collected liters ÷ elapsed hours.
Keep the observation and any projection separate. A rate calculated from one trial describes that trial; changing sunlight, weather, feed conditions, or handling can change the next one.
Illustrative pot-still planning example; these numbers are not a tested or typical yield.
| Part of the cycle | Example time or amount | What to count |
|---|---|---|
| Heat and collect | 45 minutes; 0.30 L recovered | Water actually in the collector |
| Cool, transfer, and reset | 15 minutes | The pot remains occupied |
| Complete cycle | 60 minutes; 0.30 L retained | Observed rate: 0.30 L/hour |
| A 1.20 L collection target at the same performance | Four complete cycles | About four hours, if conditions and resources remain sufficient |
The collection target is a task example, not a daily intake recommendation. Check the fuel remaining before scheduling four cycles. If the reserve only supports one more cycle, the projected fourth bottle is not part of your available supply.
Use the comparison to make a decision: continue the method, improve a specific collection loss, or switch to an accessible freshwater or rain source. Record finished water separately from feed water and a batch still processing. This makes a shared camp's supply easier to understand without promising tomorrow's output today.
Protect the Collected Water and Reset the Equipment
Prepare a clean, sanitized, covered drinking-water container before producing the batch. Keep it closed until the transfer and pour water out for use instead of dipping hands or equipment inside. Store the raw-water scoop and brine container separately.
For a still, the receiver, underside of the lid or film, and transfer vessel all belong to the fresh-water path. For a pump, that path begins at its product-water outlet. Seawater on a cap, hose end, or pouring edge can reintroduce salt after successful separation.
Salt removal is one part of producing drinking water. A documented treatment system has defined capabilities; a homemade solar collector has not gained those certifications because it produces clear droplets. Where a separate microbial treatment step is needed, use the guide to making fresh water safe to drink. A salty taste is a reason to stop and inspect the process, while an absence of taste does not establish chemical safety.
At the end of the session, let heated parts cool, empty the concentrated residue without splashing the clean equipment, and clean the reusable collecting surfaces. Route brine according to the site's disposal rules, away from freshwater sources and planting areas. Complete the pump's prescribed storage treatment rather than packing it away wet and assuming it will be ready next time.
For an extended stay, connect measured production to your stored water reserve. Keep some ready water available while the next batch is processing, and check that the materials needed for another cycle remain together.
Zombie Scenario: The Cloudy Coastal Stop
Fictional scenario
During a fictional zombie disruption, two travelers reach a coastal stopping place with stored drinking water, cookware, a small manual seawater desalinator, and separate containers. Heavy cloud covers the beach, so they choose the pump for the afternoon's additional supply.
They identify its exact model, complete the required startup discard, and route the brine away from the feed bucket. One person pumps while the other keeps the receiving bottle and clean outlet clear of spray and records the collected amount.
Their measured rate shows that the next bottle will take longer than expected. They use the carried reserve during the work, share the pumping in turns, and plan the next stop around a known freshwater refill. The sea contributes to their supply without being counted as an instant full bottle.
Frequently Asked
Does a pot still need ice?
Can the same methods work with brackish water?
Can I use a household reverse-osmosis filter at the beach?
Sources
- USGS — Desalination
- National Park Service — Outdoor Emergency Plan
- US EPA — Learn About Streams
- NOAA — What Is an Estuary?
- CDC — Collecting Rainwater and Your Health: An Overview
- QuenchSea — How to Desalinate Seawater Manually in an Emergency
- Science Buddies — What's the Point of Boiling?
- Florida Solar Energy Center / US Department of Energy — Rain Machine (Solar Still)
- Katadyn — Survivor 06 Operating Manual, Model 8013419
- Katadyn — Survivor 06 Technical Fact Sheet, Model 8013419
- CDC — About Home Water Treatment Systems
- CDC — Safe Water Storage
- US Consumer Product Safety Commission — Portable Heaters and Camping Equipment
Related guides

How to Find and Collect Fresh Water in the Wild
Locate reachable water, work with the equipment you actually have, and collect from streams, springs, rock pools, or rainfall.
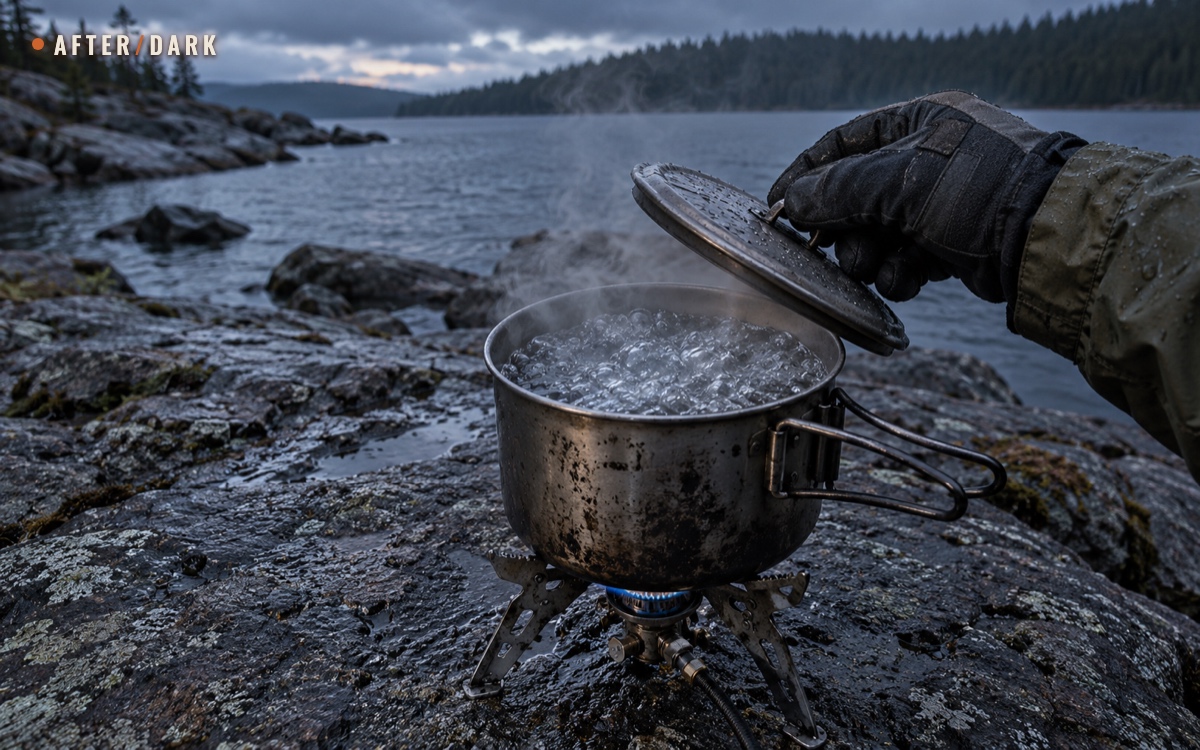
How to Make Water Safe to Drink in the Wild
Use a pot and heat, a filter and disinfectant, or sunlight to turn collected fresh water into a drinking supply. Follow the steps for what you have.
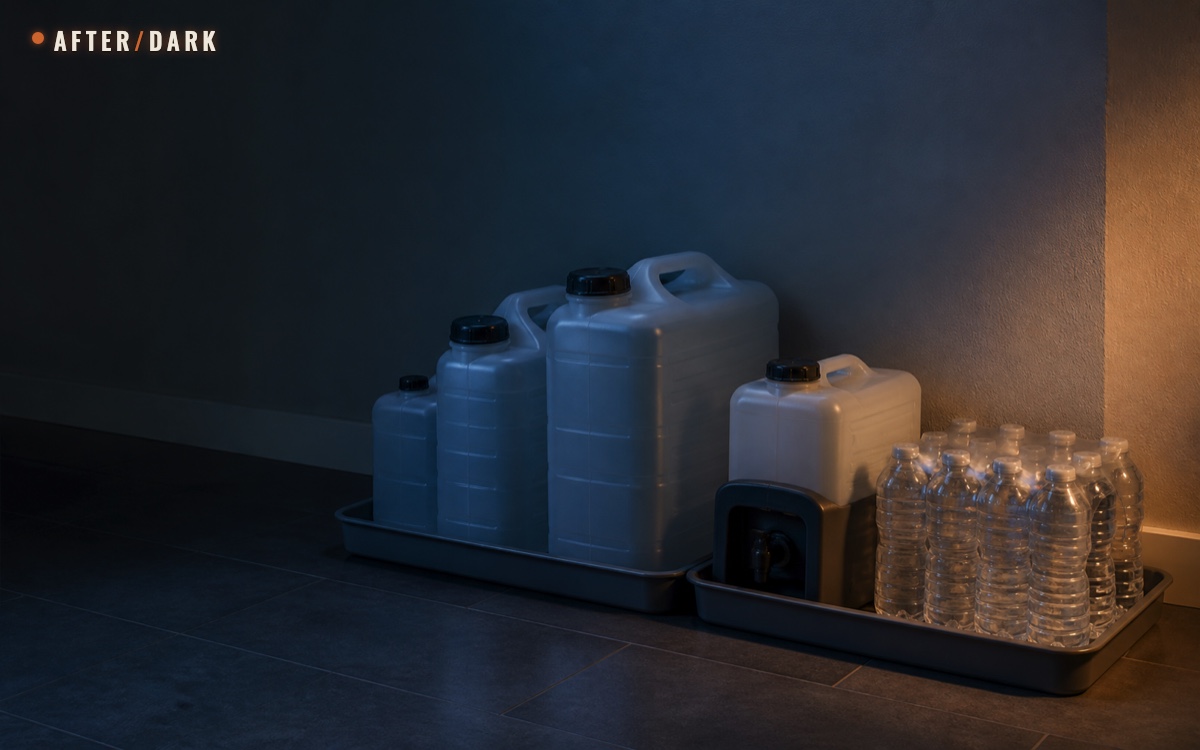
How to Store Emergency Water at Home for a Long Outage
Build a household water-storage system around usable quantities, full container weight, safe filling, accessible placement, and scheduled rotation.