How to Make Water Safe to Drink in the Wild
Use a pot and heat, a filter and disinfectant, or sunlight to turn collected fresh water into a drinking supply. Follow the steps for what you have.
Short answer
Key takeaways
- Without water equipment, stay locatable, conserve effort, and prioritize access to drinking water.
- An ordinary cooking pot and usable heat can support boiling without a purchased filter.
- Read a filter's bacteria, parasite, and virus claims to decide what completes its treatment process.
- Measure chemical-treatment batches and mark their finish times before putting them aside.
- Allow for cooling, cleaning water, and occupied containers when planning the next refill.
- Carry finished water in closed containers, with their openings protected from raw water.
If You Are Lost Without Water Equipment
You have lost the trail in a forest or valley and have no bottle, cooking vessel, or water-treatment supplies. Stop walking, take shelter from the weather, and rest in shade if it is hot. Think back to the last place where you knew your route. If you cannot safely retrace it, stay locatable and seek help. If a phone is available and you can connect, call the local emergency number, give your location or visible landmarks, and say that you have no drinking water. Once you have reported your location, remain there unless an immediate danger requires moving. Without a connection, make yourself visible and conserve effort instead of continuing an uncertain search.
Consider water access from that stopping place. If other walkers are within sight or calling distance, ask for drinking water and help. For natural water already within safe reach, assess the collection point: favor moving water close to its source, away from campsites, grazing animals, and visible pollution. Approach from firm ground and avoid disturbing bottom sediment. A distant river or a stream down a steep gully is not a reason to abandon a known position for a hazardous descent. The guide to finding and collecting fresh water explains the source clues for forests and dry country in more detail.
Choose a Method You Can Complete
Start with the situation that matches what you actually have. With no water equipment, use the opening scenario. When supplies are available, check the whole process before starting: where the incoming water goes, how it is treated, and where the finished batch will wait or travel.
Starting situations, immediate water-access actions, and treatment options.
| What you have | Next action | What it depends on |
|---|---|---|
| No container or water-treatment supplies; lost in a forest or valley | Stay locatable, conserve effort, seek help, and assess water access nearby | A safe stopping place, reachable water, and contact with other people or rescuers |
| Cooking pot and a usable heat source | Boiling | Heating, the timed boil, and cooling |
| Microfilter and drinking-water disinfectant | Filter, then disinfect | Filter flow and the product's contact time |
| Drinking-water product covering the required microbes, plus a compatible bottle | Chemical disinfection within its label conditions | Water preparation and the full contact time |
| Purifier documented for bacteria, parasites, and viruses | Its complete operating procedure | Device capacity, source conditions, and maintenance |
| Portable UV unit, power, and a compatible vessel | UV treatment of clear water | Preparation and one successful cycle per measured batch |
| Suitable transparent bottles and sunlight | Solar disinfection, or SODIS | Water clarity, weather, and exposure time |
Boiling is a straightforward choice when you can stop and use heat. Filtering and disinfecting saves cooking fuel and lets a closed batch finish its contact time while you carry it. UV suits clear water and small batches when power is available. Solar treatment fits a long stop much better than a quick refill.
If you have ordinary containers but no specialist equipment, a cooking pot and usable heat can support boiling, while a suitable transparent bottle opens the solar option. The detailed procedures below explain both.
Understand What Each Step Does
Fresh water has relatively little dissolved salt; drinking water is water suitable for consumption. Turning one into the other involves different jobs, and understanding them makes equipment choices much easier.
Clarification removes suspended material. Letting sediment settle or straining out debris prepares a muddy collection for further processing. Filtration removes material according to the filter's design. A cloth, a microfilter cartridge, and a purifier have different capabilities. Disinfection acts on microorganisms, using heat, an appropriate chemical product, or UV exposure.
A single process can do more than one job. A suitable purifier may provide all the microbial treatment needed; a microfilter and disinfectant share that work. Once you have selected a complete method, follow its sequence through to the end.
Ordinary boiling and disinfection do not remove salt, heavy metals, or most chemical contamination. Use another source when fuel or toxic contamination is suspected, and follow local restrictions for harmful algal blooms. The field methods below treat microbes in collected fresh water.
Prepare Cloudy Water and Arrange Your Containers
Choose the clearer portion of the water you have collected and remove leaves, grit, and sediment before the main treatment. This makes drinking more pleasant and reduces the material your filter or light-based method has to work through.
- Leave the collection vessel undisturbed so heavier sediment can sink.
- Pour the clearer upper water slowly into the receiving vessel, leaving the bottom layer behind.
- Strain through a clean cloth or coffee filter to catch remaining coarse particles.
- Move the prepared batch into the method you selected.
Settling and cloth straining remove some suspended particles, but do not establish drinking-water safety by themselves. This is the boundary between preparing water and completing its treatment.
There is no useful universal settling time: sediment that drops readily and fine particles that stay suspended behave differently. Watch whether material is actually collecting at the bottom. If the water remains too cloudy for your UV or solar method, continue appropriate preparation or choose another method. Boiling can disinfect water that still has suspended particles; its practical advantage is that light does not have to pass through the batch.
Give each vessel a job
With two containers, use one for collection and one for treatment or finished water. A filter's raw-water bag can do the first job while a bottle does the second. A cooking pot can handle both heating and cooling, leaving a drinking bottle available to receive the result.
With only one pot, work through one batch before collecting the next. With only one bottle and a compatible tablet product or solar method, treat in that bottle and keep the batch there until use. A spare vessel is particularly valuable when sediment needs to settle: it lets you pour off the clearer upper water without immediately needing the collection vessel for storage.
Boil Water With a Pot and Heat
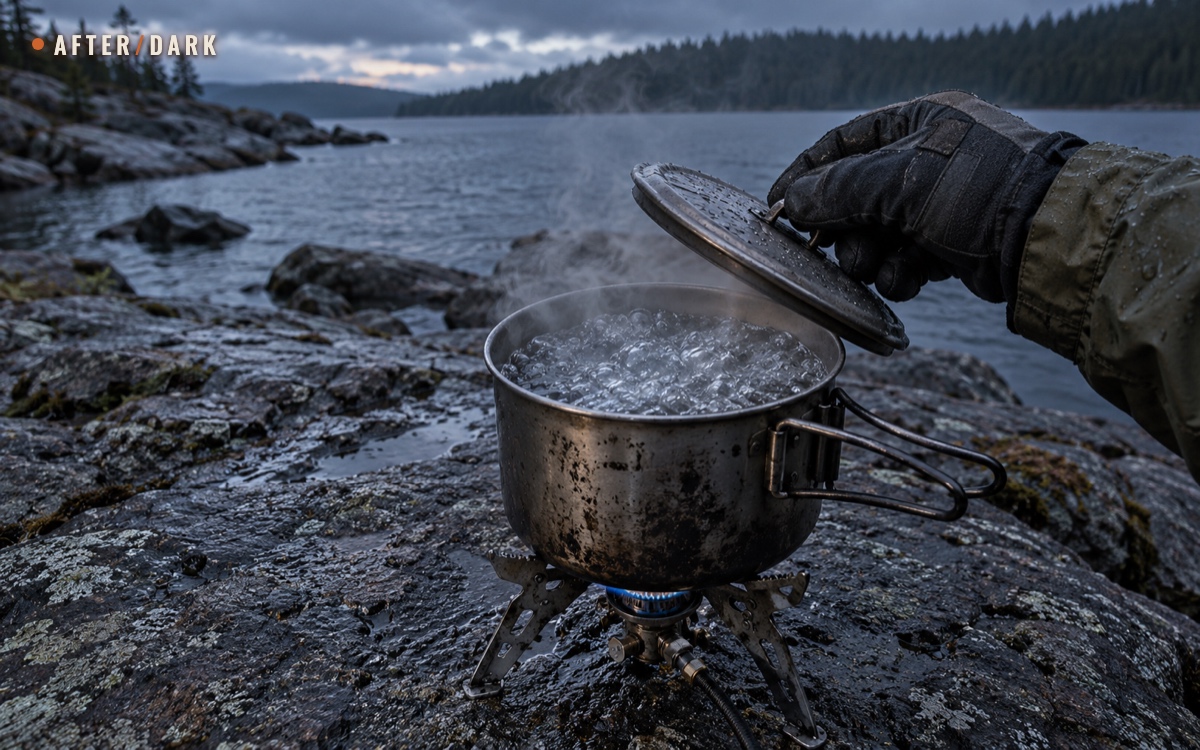
Boiling is useful with ordinary cookware and offers a clear endpoint you can see. A camping stove is convenient, but a suitable pot over another permitted heat source can also work. Use cookware designed for that heat source, a stable support, and a way to handle the hot vessel. Follow local fire restrictions and the equipment's outdoor operating instructions.
Complete the boil and cool the batch
Follow this boiling procedure after preparing the collected water:
- Fill the pot to a level you can heat and handle without spilling.
- Bring the water to a rolling boil, with vigorous bubbling across the surface.
- Maintain that boil for 1 minute, or 3 minutes above 6,500 feet—approximately 1,980 meters. Begin timing when the rolling boil starts.
- Remove the pot from the heat and allow the water to cool, protected from dirt and untreated-water splashes.
- Transfer it to a clean, sanitized drinking container with a secure closure, or keep it covered in the pot until use.
A few early bubbles on the bottom are the warm-up stage. Watch the surface before starting the timer. Water boils at a lower temperature at higher elevations, which is why the procedure includes a longer holding time there. Once the specified boiling period is complete, move on to cooling instead of continuing to use fuel and evaporate water.
Prepare the landing place for the hot pot before lifting it. If the water will go into a plastic bottle, let it cool first and respect the bottle's temperature limits. Adding untreated water to cool the batch would undo the finished treatment.
Match the batch to your fuel and containers
The useful batch size is what you can heat, handle, cool, and store. A large pot is helpful only if the finished water has somewhere to go. If you have one small receiver, several manageable batches may fit your setup better than one full pot.
When planning a trip, time a practice batch with your actual cookware and stove. Record the starting amount of water, time to reach the boil, cooling time, and fuel used if you can measure it. Cold starting water and changing conditions mean that the result is a reference for that setup, not a guaranteed number of liters per cartridge.
Count cooking and water treatment against the same fuel supply. If the stove must also prepare meals, a suitable second water-treatment method gives you a way to reserve fuel for cooking. Store any instructions with that backup so it remains usable when the primary method is unavailable.
Choose and Operate a Suitable Filter
A field filter moves water through a barrier that catches material according to its design. It can be fast and useful for repeated refills, especially when combined with a disinfectant. The important purchase decision is the model's documented treatment capability.
Read the actual treatment claims
For parasite removal, look for an absolute pore size of 1 micron or smaller; 0.3 micron or smaller covers bacteria and parasites. These microfilters generally need a separate step for viruses.
A purifier may document coverage of bacteria, parasites, and viruses as a complete process. Read that coverage alongside the required cartridge, setup, and source conditions. For certified equipment, check the specific contaminant-reduction claim and matching model. A claim for cyst reduction answers a different question from a claim for virus treatment.
Before packing, write down what the device handles and what completes the process. For example: “Filter removes the listed bacteria and parasites; the drinking-water product supplies the disinfection stage.” That gives you a usable plan without having to remember the product literature at a stream.
Run water through the system
Assemble the filter with its intended collection bag, intake, connectors, and receiver. Check the direction of flow. Fill the collection side, keep it apart from the clean outlet, and operate the pump, squeeze bag, or gravity system as its instructions describe.
For a filter-and-disinfectant workflow, measure the water on the receiving side. That is the volume you will treat chemically. For a documented standalone purifier, finish its required operating sequence before closing the drinking container.
Try the actual bottle connections at home. Matching nominal capacities do not tell you whether a filter screws onto a bottle, whether the outlet reaches it, or whether you can hold the arrangement without spilling. A short practice refill reveals those problems while another container is still easy to obtain.
Keep flow and filter integrity in working order
Sediment gradually slows many filters, so carry the cleaning accessory the manufacturer specifies. For Sawyer filters, backwashing addresses declining flow, while suspected freezing after wetting calls for replacement. Restoring flow and checking for damage are different jobs.
Use the manufacturer's cleaning water, direction, and storage procedure. Avoid squeezing harder and harder against a blocked cartridge. In freezing weather, protect a wetted filter as its maker directs; Sawyer advises keeping its filter close to your body, including inside a sleeping bag overnight. Before a longer trip, inspect the collection bag, seals, and connectors too.
Disinfect With a Drinking-Water Product
Purpose-made tablets or drops are compact and can treat batches without heating them. Their principal tradeoff is waiting time. You need a known water volume, the right application for that product, and enough time for it to act.
Combining a suitable filter with chemical treatment is a standard field-treatment sequence. The filter removes the organisms it is designed to catch; the disinfectant addresses the remaining microbial treatment. It is a practical way to use two small pieces of equipment together.
Read the package before filling the bottle
Check the intended water volume, permitted water conditions, application instructions, full contact time, expiry, and packaging condition. Keep the original directions or a readable offline copy with the product.
- Measure the prepared or filtered water into the treatment container.
- Add the amount specified for that volume and those conditions.
- Complete the mixing and bottle-opening or cap-treatment steps required by the product.
- Close the container and record its finish time.
- Wait for the full contact period before using the batch.
A familiar bottle with a visible fill mark makes the volume easier to reproduce. If the label treats one liter at a time, use a measured liter; an unfamiliar bottle filled to the shoulder gives you no reliable measurement. When dividing a larger collection, identify each batch before adding the product.
Understand the product you are carrying
As a concrete example, Micropur MP1 specifies one tablet per liter and a four-hour exposure. A one-liter bottle whose contact period begins at 11:00 finishes at 15:00 if the other instructions have been met. Another product may have different directions.
If you have tablets but no filter, check the microbial coverage of the product itself. Chlorine dioxide can address Cryptosporidium under the appropriate conditions and contact time; ordinary chlorine products do not provide the same coverage. That distinction determines whether the tablets complete your process or need a suitable filter alongside them.
Cold water and cloudiness can affect chemical disinfection. Use the package instructions that apply to the batch, including any longer wait it specifies. Guessing an extra amount or borrowing another brand's timing makes the process harder to follow accurately.
Use a Portable UV Unit for Clear Water
A UV device treats small, measured batches without heating the water or adding a chemical product. It needs sufficiently clear water, working power, and a vessel in which the lamp and sensors can operate correctly. Prepare and filter the water first because suspended particles can shield microbes from the light.
For example, the Steripen Ultra operating sequence uses these steps:
- Measure a supported batch into a compatible container. Select 1 liter with one button press, or 0.5 liter with two presses.
- Place the lamp in the water and fully immerse the metal sensor pins.
- Stir throughout the cycle as instructed.
- Wait for the successful-treatment symbol, then close the container.
Charge the unit before use and operate it with dry hands as its manual specifies. If a cycle is interrupted or an error appears, follow the troubleshooting instructions and complete a successful cycle before drinking. Those settings belong to this model; another device may have different controls or volumes.
Test the device with the vessel you will carry. A narrow bottle may be convenient to pack but awkward or incompatible with immersion and stirring. If you treat water in a separate wide-mouth vessel, include the transfer to the drinking bottle in the routine.
For a group, count cycles as well as liters. A device treating one liter per cycle will need several complete runs for a larger supply. Have the next measured batch ready, keep the finished bottles apart, and plan charging for the actual number of refills.
Use Sunlight When You Have Time and Suitable Bottles
Solar disinfection, or SODIS, offers a method without purchased treatment tablets, a filter, or a powered device. It is useful when you can leave suitable bottles exposed while staying at a camp or other stopping place.
The bottle and sunlight requirements are specific:
- Use clean, transparent, colorless PET bottles holding no more than 3 liters. Replace heavily scratched bottles.
- Check clarity by placing a filled bottle over a newspaper headline and looking through the water from its neck toward its base. If the letters cannot be read, filter the water further.
- Cap the bottles and place them horizontally in direct sunlight.
- Expose them for at least 6 hours when less than half the sky is clouded, or 2 consecutive days when more than half is clouded. Prolonged rainy weather is unsuitable.
- Keep the treated water in those bottles until use.
Think about the stopping place as well as the weather. A sunny patch can move into shade as the day passes; choose a position that provides the required exposure. Several small bottles let you treat a collection together, then take individual finished bottles as needed.
If you arrive late, solar treatment may fit the following day's supply rather than the next hour's refill. Use the carried drinking water while that batch processes. This method disinfects the water already inside the bottles; it does not collect fresh water by condensation or remove seawater's salt.
Put the Methods to Work With Limited Equipment
The following examples show how the same instructions fit different field situations. Choose the one closest to your supplies, then use its method section for the treatment details.
A forest stop with a pot and one drinking bottle
You have a suitable cooking pot, permitted heat, a clean cover, and one prepared bottle. Collect in the pot, remove coarse debris, and boil the manageable batch. Keep the bottle reserved for the cooled water so it remains available as a receiver.
The useful constraint is cooling. Until the water can be transferred, the pot is occupied. Leave enough time at the stop for that transfer, or use the water from the covered pot there. Collecting a second batch too early would put you in the position of needing a third vessel you do not have.
If you intend to use the pot for a meal as well, plan the order: finish the drinking-water batch and transfer it before starting the cooking task. That simple sequence makes two ordinary containers serve several purposes.
A dry-country refill with little water to spare
You reach a small source with a compatible filter, disinfectant, and measured bottles. Prepare only the collection you can process and carry. Use a receiver that stays upright and fits the filter outlet so a narrow opening or awkward pour does not waste part of the batch.
Measure the output after filtration, apply the product, and mark the finish time. Keep enough carried drinking water available to cover the wait. Where the equipment needs water for cleaning, count that against the collected amount too.
A full collection bag is only the starting volume. Leaving sediment behind, backwashing, and transfer losses all affect what reaches the finished bottles. Checking the actual output is more useful than assuming the collected and drinkable amounts will match.
A longer stop with bottles and sunshine
You have appropriate PET bottles, sufficiently clear water, and a suitable exposure window. Fill the bottles together and give them a common start time. Put the water already ready to drink in a separate place so another person can use it without disturbing the exposed batch.
At the end of treatment, keep the finished bottles closed. For the next collection, empty bottles become the next solar batch. The benefit of several vessels is continuity: yesterday's finished supply and today's processing water can coexist without hurried transfers.
Plan Water Amounts, Treatment Time, and the Next Refill
Start with what you need ready before the next dependable refill. Include drinking water and water needed for food preparation and other uses that require treated water. Add the water your equipment will consume for cleaning or rinsing so that it does not quietly reduce the supply you intend to carry.
Then distinguish finished water, water processing, and water still to collect. These quantities tell you different things about whether you can leave a stop with the supply you planned.
Consider an illustrative target of four liters of finished water for a particular refill. With a one-liter working batch, that means four completed batches. If the first two are ready and the other two are waiting, you have two liters available now. The four-liter figure is an example of capacity planning, not a recommendation for anyone's daily intake.
Give each waiting batch its own finish time
Using the four-hour product example from the disinfectant section:
Example timing for separate one-liter batches after correct preparation and application.
| Batch | Contact time starts | Treatment finishes | Ready at 15:00 |
|---|---|---|---|
| A: 1 liter | 11:00 | 15:00 | 1 liter |
| B: 1 liter | 12:30 | 16:30 | 0 liters |
At 15:00, bottle A is available; bottle B needs another ninety minutes. Write the time on tape or keep a simple batch note. If someone takes over, pass on the method, volume, and finish time together.
For boiled water, the equivalent schedule includes heating and cooling. For UV, it includes all the device cycles. For SODIS, it includes the full exposure window. A second container can reduce idle time by letting one batch wait while another is prepared.
Include the supplies that make the method repeatable
Alongside the main device or product, pack the receiving bottle, suitable collection vessel, necessary connectors or cleaning tool, and readable instructions. Boiling also draws on cookware, fuel, and hot-pot handling; powered UV draws on the charging arrangement.
Connect these items to the water supplies in your bug-out bag. Run an ordinary practice refill using those exact items: collect, prepare, treat, wait, transfer, and pack away. Notice what is awkward with wet hands or tired arms, what needs to remain accessible, and which container is unavailable while a batch waits. Adjusting that arrangement beforehand is easier than working around it at every stop.
Protect Finished Water During Carrying and Use
Prepare a clean, sanitized drinking-water container with a secure cover. Use a container intended for drinking water; one that previously held toxic chemicals is unsuitable. Keep the inside protected during storage and transport, and pour water out instead of dipping hands or objects into it.
At a refill stop, put the collection bag and intake on one side of the working area and finished bottles on the other. Keep the filter outlet and bottle openings off the ground. Replace caps promptly and keep their inner surfaces away from raw water.
Treat a newly collected refill as its own batch. Topping up a partly used drinking bottle mixes the new untreated water with the finished supply. Either finish that bottle before refilling it or use a second vessel for the new collection.
If untreated water reaches the drinking side, clean the affected parts as the equipment directs and process the affected water again. A quick splash around the threads may need attention even when most of the water stayed inside the bottle. Include caps, outlets, and any drinking attachments in the manufacturer's cleaning routine.
At a longer-term base, use the storage guide to prepare and rotate a larger water reserve. On the move, the useful habits are simpler: know which bottle is ready, close it, protect its opening, and keep the next refill's supplies within reach.
Resolve Problems at the Step Where They Occur
When something interrupts a refill, identify which part of the process stopped. That helps you choose a useful next action without starting every task again.
- Sediment keeps reaching the receiver: let the collection rest again and pour more slowly, leaving the bottom layer behind. Use another suitable source if preparation remains impractical.
- Filter flow has slowed: check the assembly and perform its prescribed cleaning. If damage is suspected, use the replacement or alternate-method plan rather than trying to restore confidence by increasing pressure.
- You cannot identify the disinfectant or its instructions: set any batch already treated with it aside. Use another complete method on a fresh batch while you obtain the correct directions.
- A UV cycle reports an error: resolve the indicated cause, such as power, immersion, or device condition, before rerunning the complete cycle.
- Solar exposure cannot be completed: keep that batch identified and use a method you can complete under the changed conditions.
A backup works best when its requirements differ from those of the main method. For example, a suitable filter-and-disinfectant combination can handle water when stove fuel is unavailable. That is a more useful fallback than carrying two devices that both depend on the same depleted power source.
Zombie Scenario: The Refill Before the Long Walk
Fictional scenario
During a fictional zombie outbreak, two travelers reach a lakeside stopping place before a long stretch without a dependable refill. They have a pot, a stove, a microfilter, drinking-water disinfectant, and several bottles. Part of their carried water remains available while they work.
They choose a batch target from what they intend to carry and set aside clean receiving bottles. One traveler boils the first batch while the other filters the next and applies the disinfectant. The waiting bottle gets its own finish time. The pot stays occupied until its water cools enough to transfer.
Before leaving, they count finished water separately from the bottle still processing. They pack the ready supply where it can be reached, protect the waiting batch, and keep its completion note visible. Their water plan now includes both what they can drink immediately and when the next bottle becomes available.
Frequently Asked
Do I need to boil water after using a filter?
Can a homemade sand-and-charcoal filter replace a water purifier?
Does ordinary boiling make seawater drinkable?
Sources
- National Park Service — Outdoor Emergency Plan
- CDC — Water Treatment Options When Hiking, Camping, or Traveling
- CDC — How to Make Water Safe in an Emergency
- CDC Yellow Book — Water Disinfection for Travelers
- National Park Service — Two Ways to Purify Water
- EPA — Emergency Disinfection of Drinking Water
- NSF — Contaminant Reduction Claims Guide
- Sawyer — Water Filter Care and Limitations
- Katadyn — Micropur MP1 Water Purifier Tablets
- Katadyn — Steripen Ultra Instructions
- SODIS — How Does It Work?
- CDC — Safe Water Storage
Related guides
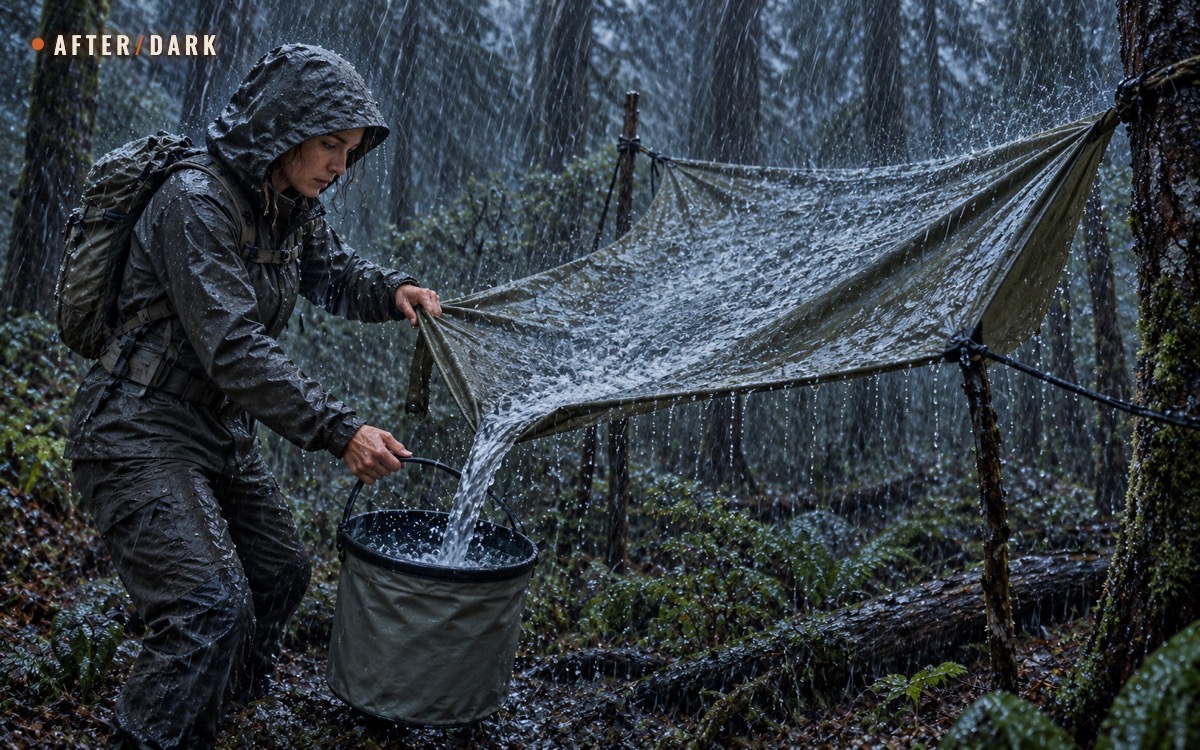
How to Find and Collect Fresh Water in the Wild
Read the landscape, assess natural sources, and collect water with what you can carry, from woodland streams to a rain-catching sheet.
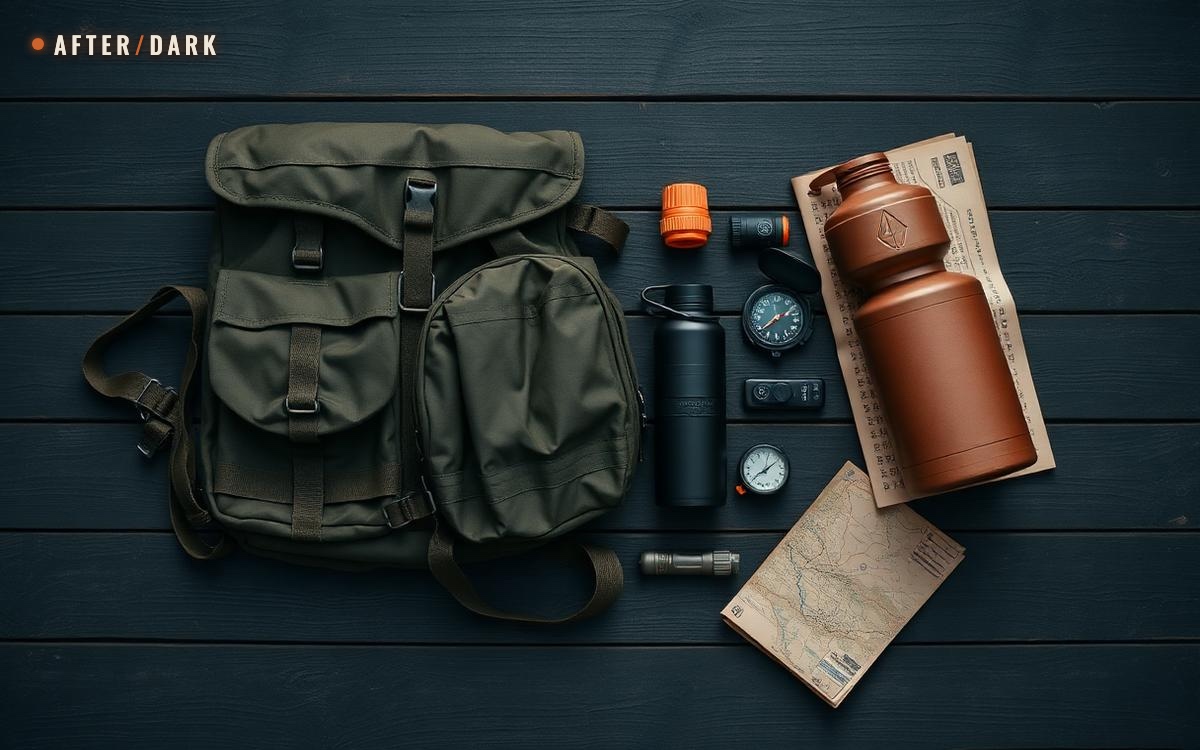
How to Build an Apocalypse Bug-Out Bag
Build a portable evacuation kit around a real destination, route, household, and loaded walk test—not a generic pile of emergency gear.
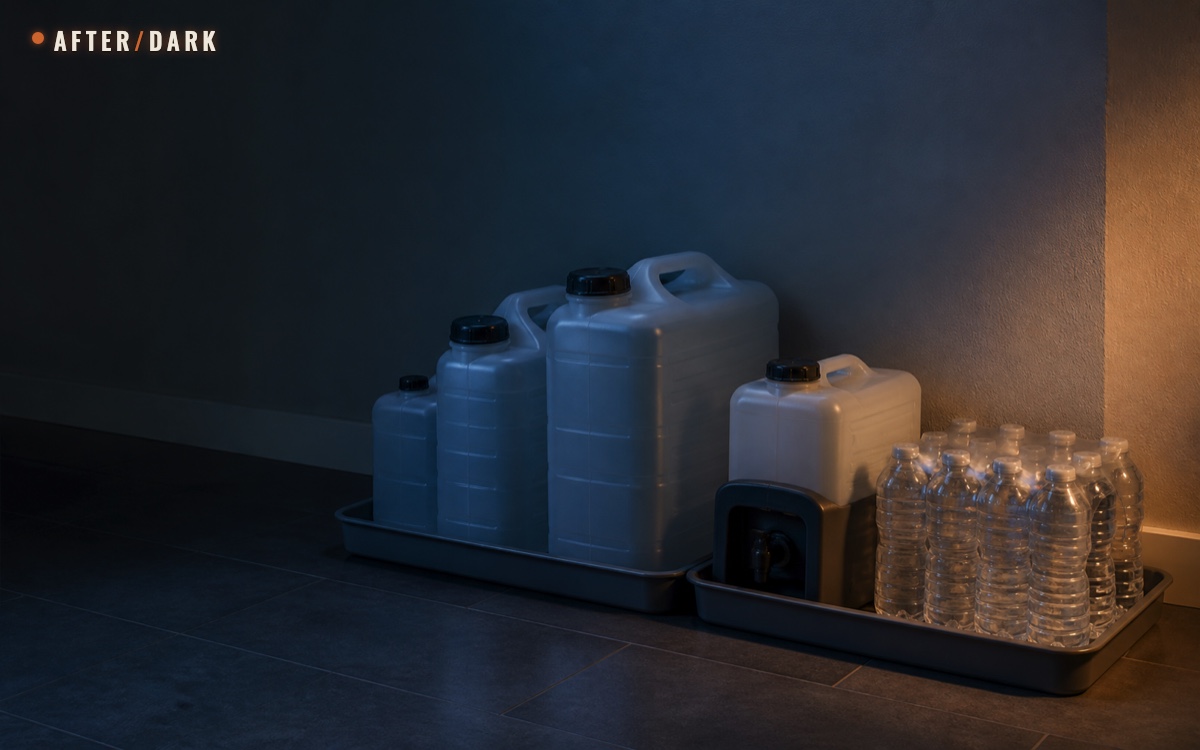
How to Store Emergency Water at Home for a Long Outage
Build a household water-storage system around usable quantities, full container weight, safe filling, accessible placement, and scheduled rotation.