Day Hike Emergency Kit: What to Pack for Unexpected Delays
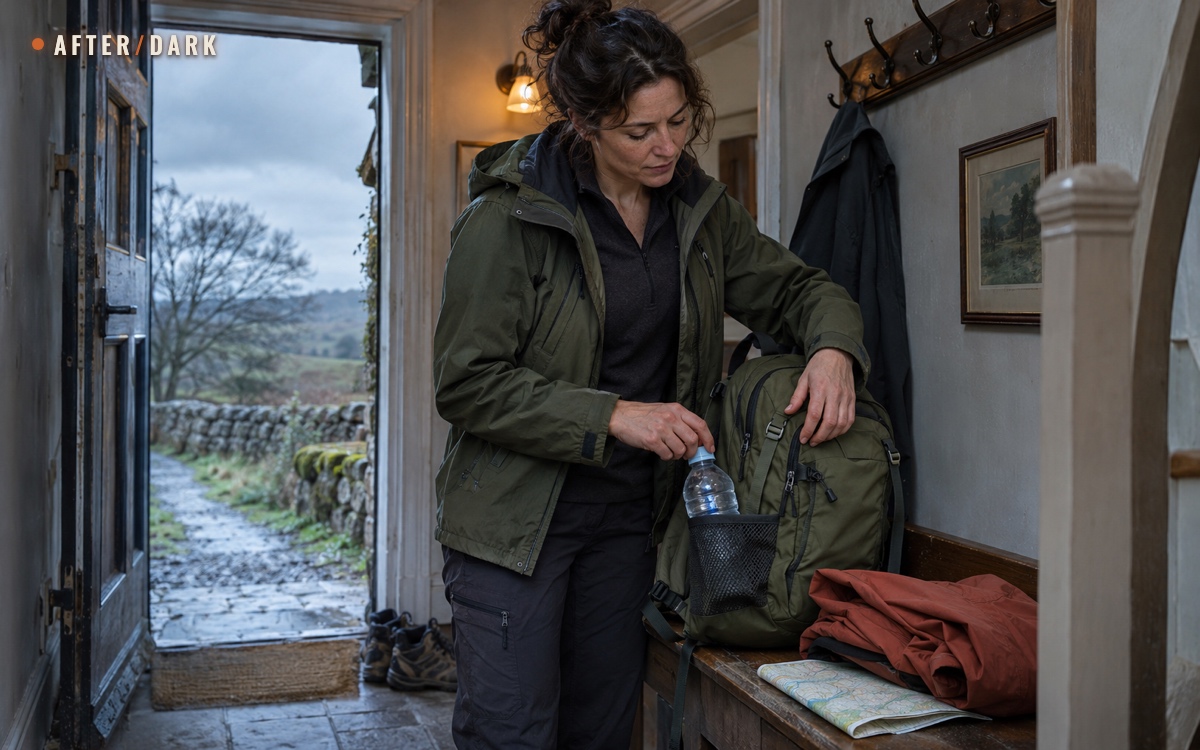
A small daypack should still work when the walk runs late. Choose useful equipment, close the gaps in what you own, and pack it so you can reach what matters.
Short answer
Key takeaways
- Choose equipment for the route, weather and possible delay, including time spent waiting rather than walking.
- Check whole functions: a light needs power, a downloaded map needs usable coverage, and a shelter may need separate supports.
- A weather barrier, warm clothing and insulation from the ground perform different jobs.
- Keep essentials reachable and distribute personal necessities so one pack does not hold everything for the group.
- Finish preparation with a practical rehearsal and a trip plan held by someone who is not coming along.
A day hike emergency kit should help you handle a late return, a change in weather or a wait for assistance. The useful question is what you could actually do if the planned afternoon finish slipped beyond daylight.
This guide helps you assemble and check a manageable pack for ordinary, nontechnical walks. It also applies to a short woodland outing to gather mushrooms or take photographs. Choose the equipment for the place you are visiting; a familiar lowland path and a remote exposed route need different preparation.
Start With the Equipment You Actually Have
Before departure: ordinary possessions can do useful jobs
Lay out your existing backpack, suitable clothing, drinking-water bottles, ready-to-eat food and any working light. Keep items that perform the required function. You do not need a coordinated set of outdoor products to begin, but a phone torch alone does not give you independent lighting, and an ordinary jacket may not provide rain protection.
Identify the missing functions before buying extras. Borrow or obtain what the chosen route needs, or choose a shorter, more accessible outing with suitable conditions. The NPS trip-planning guidance makes equipment, ability and local conditions part of the same decision. A packed bag is ready when its contents support this trip, not simply when it is full.
Already outside without a kit
If you have no pack, phone or light and cannot identify your return route, stop at a recognizable point instead of adding more uncertain turns. Consider where you last knew your position. Retrace only if you can confidently identify a safe return and have the conditions and daylight to complete it; otherwise, establish a nearby waiting position away from immediate hazards. The Forest Service's lost-person guidance emphasizes stopping, thinking and avoiding aimless movement.
Keep your clothing on, use nearby protection from wind or rain where safely available, and call out with pauses to listen. Wave when someone can see you. These actions use what you actually have, but do not prove that a search has started. Our guide to being lost in the woods develops the return-or-wait decision. The packing steps below are for preparation before the next outing.
Let the Route Change the List
Check the route description and current local information, then write down four answers: expected finish time, conditions if delayed, confirmed water access, and available communication. Include the walk back from the farthest point, rather than measuring only the outward leg.
An exposed section makes wind and rain protection more consequential. Limited daylight makes the turnaround time important even if you carry a headlamp. An unconfirmed refill point means the carried water must cover the plan without it. A route beyond mobile coverage needs a communication decision before departure, which may mean suitable additional equipment or a different route.
Add protection for the actual environment: a suitable sun hat, covering clothing and sunglasses for exposed sunny sections, for example. Account for conditions beyond the sheltered trailhead. A walk beginning in shade can spend its return leg on open ground, and the weather forecast may describe a different elevation from the route.
Mountain Rescue's preparation advice includes checking the weather, carrying useful equipment and being willing to change plans. Repeat the conditions check at the start: a closure, stronger wind or slower group changes the outing even though yesterday's packing list is complete.
The Day Hike Kit: Functions and Checks
The NPS essentials framework and AdventureSmart's preparation guidance are useful starting points. Translate equipment names into functions, then check that your own items can perform them. The table covers the navigation, weather, supply and communication side of a daypack; add requirements specific to the route.
Use this checklist with the actual items you will carry, including their power, attachments and instructions.
| Function | Pack or prepare | Check before leaving |
|---|---|---|
| Find the route | Downloaded route map; usable paper backup and navigation skills | Can you identify the start, return and important junctions without a live data connection? |
| See after dark | Headlamp or flashlight; compatible spare batteries or charging arrangement | Operate it, inspect the charge, and prevent accidental activation in the bag. |
| Contact or attract help | Charged phone, reachable whistle, written contact details; additional communication equipment where needed | Know the local emergency contact and what your actual device can do beyond coverage. |
| Stay protected from weather | Suitable rain/wind layer, additional insulating clothing; hat or gloves as conditions require | Try the layers together and protect the spare clothing from water. |
| Manage a prolonged stop | Appropriate emergency shelter and ground insulation | Confirm size, instructions, condition and any necessary attachments. |
| Drink | Filled drinking-water containers and any planned refill equipment | Check closures, usable capacity and whether the refill is genuinely available. |
| Eat during a delay | Planned food plus extra ready-to-eat food | Check storage instructions, packaging and whether you can open and eat it as carried. |
| Keep the kit usable | Protective bags, power connections and any essential item-specific accessories | Check the complete system, not just the main object. |
A whistle still needs someone within hearing range; a map does not send a message. Decide who could receive your call or signal. The outdoor signalling guide explains those options without assuming that every phone or radio connects to a rescue service.
Make Light and Navigation Independent Enough to Work
A phone may hold the map, provide communication and supply a light. That makes its battery a shared dependency. Carry a separate light, and learn its controls before you need it: the power button, useful continuous setting and any travel lock. Check whether your rechargeable light works while connected to power if that is part of your backup plan.
Put the correct cable with the power bank. For replaceable batteries, verify type and orientation against the instructions and store spares as the manufacturer directs. A sealed pouch containing the wrong battery size does not restore a working light.
Download a map covering the whole outing, including the return and relevant alternatives. At home, temporarily disable the data connection and open the download; make sure the actual map detail remains available. Restore the normal connection afterward. A screenshot of a route line may omit the junction names or surrounding terrain needed to understand a wrong turn.
Prepare the offline map and its backup before leaving. Carrying a compass is useful only alongside the knowledge to relate its reading to a map and the ground. If you cannot confidently use the navigation available to you, choose a route within your present skills and build those skills on easier outings.
Carry Water and Food You Can Use Immediately
Work out water needs for the route, conditions, people and a possible delay, then check the bottles' actual capacity. Do not count a seasonal stream or a café as a confirmed drinking-water refill without checking current access. If the route would require more water than you can reasonably carry and has no dependable refill, change the plan.
If natural-source treatment is part of the route, carry a suitable complete method and understand its limitations before departure, including collection, container requirements and waiting time. The guide to treating water in the wild covers that separate choice. An unopened treatment product at home contributes nothing to the water available in your pack.
For food, choose familiar items you can eat as carried. USDA's outdoor food guidance distinguishes shelf-stable supplies from food requiring temperature control. Suitable examples can include nuts, dried fruit, crackers, and ready-to-eat products labeled for storage without refrigeration. Choose according to your dietary needs and the package instructions.
Pack your planned food and a separate extra portion you would actually want to eat during a delay. Check whether a pouch needs utensils or a can needs an opener. A meal requiring hot water introduces dependencies that a ready-to-eat snack does not. Include a bag for the empty packaging, and follow local wildlife food-storage rules.
Choose Shelter by What It Actually Does
A rain shell protects you while moving, but you may also need additional insulation when stopped. Try the insulating layer under the shell at home: it should fit without making movement or closures difficult. Keep it dry inside the pack rather than assuming the outer fabric will keep every seam and pocket dry.
For an emergency stop, compare the shelter's functions:
- Emergency blanket: a compact covering that must be arranged and held in place. Check how the specific product is intended to be used and whether it can be repacked after practice.
- Emergency bivy or survival bag: an enclosing weather barrier. Check its material, size and instructions; products differ in weather resistance and breathability. Keep your face and breathing space clear as directed.
- Tarp or group shelter: additional covered space, with a setup that may depend on supports, lines, anchors or other people. Carry the complete arrangement and practise it before relying on it.
A bivy is not automatically an insulated sleeping bag. Alpkit's bivy guidance treats the bivy, sleeping insulation and mat as separate parts of an overnight setup. A tiny package marked “emergency” does not establish what conditions you can comfortably wait through.
Ground insulation is another job. Bushwalking Victoria explains that thin groundsheets and space blankets do not provide sufficient ground insulation. A foam sit pad can insulate the area beneath you while seated; it does not cover the same area as a sleeping mat. Choose the provision for the likely stop and conditions. If the credible delay exceeds what your clothing and shelter can support, upgrade them or change the outing.
Our guide to spending an unexpected night without a tent explains choosing a waiting place and using the shelter resources you actually brought.
Pack for Access, Balance and Dryness
Arrange the bag by the order in which things may be needed. REI's packing guidance places dense items close to the back and frequently needed items within easy reach. Adapt that principle to a small daypack instead of copying an overnight camping layout.
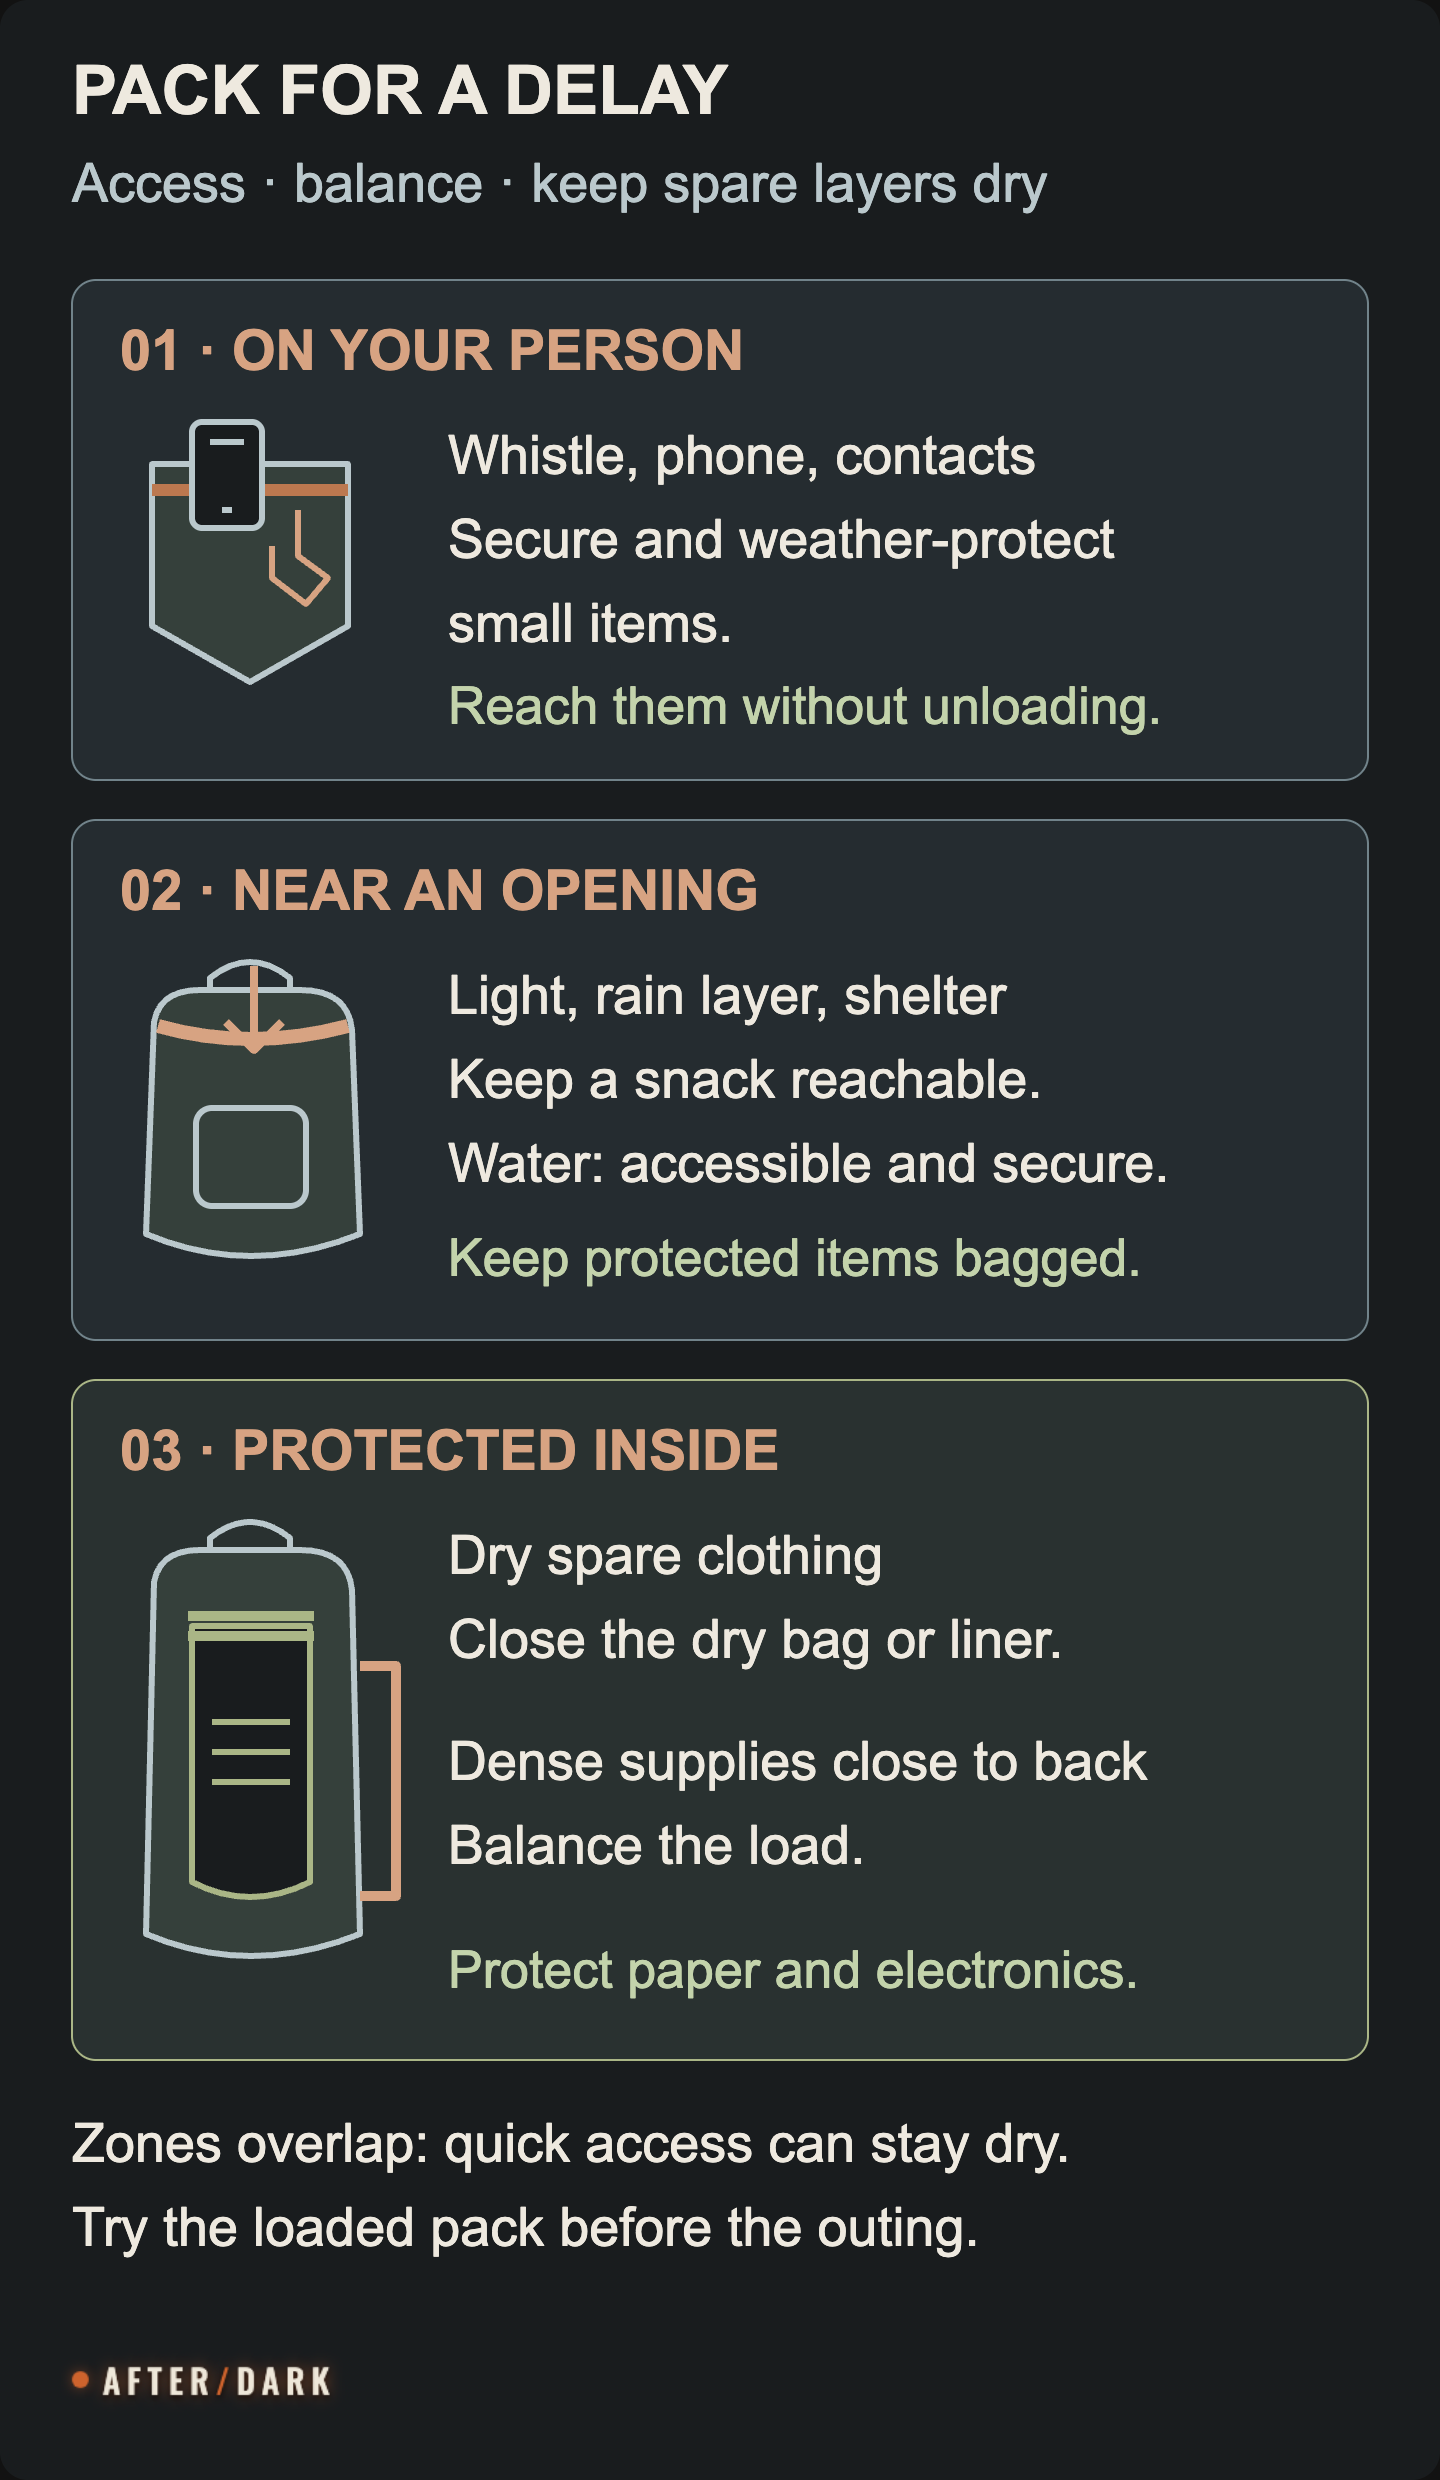
On your person or securely reachable: keep the whistle, contact details and phone where you can reach them without removing everything. Protect the phone from the conditions and secure small items against falling out. Know where the light is before darkness; an accessible zipped pocket can be more useful than the bottom of a shared bag.
Near an opening: place the rain layer, shelter and spare snack so they can come out without unloading the pack onto wet ground. The shelter can remain in a protective pouch near the top. Use a secure pocket for drinking water or another arrangement that allows routine access without upsetting the load.
Protected inside: keep spare insulating clothing in a suitable dry bag or intact waterproof liner, closed according to its design. Keep electronics and paper protected too. Place denser supplies close to your back and balance the load; separate bottles from objects their contents could damage if they leak.
Avoid loose bundles hanging from the outside. They can snag, shift or fall unnoticed. Before departure, put the pack on, bend down and walk a short familiar route. Reposition anything that swings, digs into you or makes you keep taking the bag off.
Share Equipment Without Creating One Point of Failure
Each person should retain access to their own weather layer, drinking water, light and whistle. Decide explicitly who carries shared items and who knows how to use them. Keep the group together; distributing essentials is a precaution if that plan breaks down.
For example, two walkers may share one larger shelter, but putting both lights and every warm layer in its carrier's bag makes the other person dependent on reaching that bag. Move personal necessities to their users and check the shared shelter's capacity. Shared weight has to remain manageable for its carrier, including the water that will be carried at the start.
Give everyone the route, meeting arrangements and contact information. If one person turns back, reassess the equipment leaving with them before the groups separate. For a solo walk, check which jobs were previously covered by a companion and are now yours.
Rehearse the Delay Before You Leave
Do a short practical check with the packed bag, not a final glance at the shopping receipt:
- Take out and operate the light. Use the actual controls and power arrangement. If you will wear gloves, try the controls with them on.
- Locate the route without live data. Find the start and a named junction, then check that you can describe where you are looking.
- Get the rain layer out without unpacking everything. Confirm that you can also reach the shelter and spare clothing.
- Check the shelter at home. Follow its instructions, confirm that the users fit, and identify any missing components. For a single-use item, learn the setup without destroying the only one you intend to carry.
- Inspect the consumables. Fill and close the bottles, check food dates and storage requirements, and confirm that the food is usable without uncarried equipment.
- Leave a usable trip plan. Give someone staying behind your route, starting point, companions, expected return and agreed action if overdue. Include whom to contact locally, and tell them when you are safely back.
Keep the kit ready between outings, but reset it after use: dry damp items, replace eaten food and damaged packaging, recharge equipment, and return borrowed or moved components to their proper places. Check the next route afresh; yesterday's suitable layer or water load may not fit tomorrow's conditions.
Zombie Scenario: The Return Path Is Closed
Fictional scenario
A walker returns to a familiar junction and learns that the route home has been closed as the outbreak spreads. She takes out the paper map and contacts her companion before committing to the longer alternative. The light, spare food and weather layer remain accessible while they agree where to meet. Her small pack cannot solve the wider crisis, but the checked equipment gives her usable choices during the delay.
Frequently Asked
What size backpack do I need for a day hike emergency kit?
How heavy should a day hike emergency kit be?
Is a ready-made survival kit enough?
Can I leave the emergency kit in the car?
Should children carry their own emergency kit?
Do I need a stove for an unexpected delay?
Can I borrow equipment for my first walks?
How often should I replace an emergency blanket or bivy?
Sources
- National Park Service — Trip Planning Guide
- US Forest Service — If You Get Lost
- Mountain Rescue England and Wales — Safety
- National Park Service — Ten Essentials
- AdventureSmart — The Three Ts
- USDA FSIS — Food Safety While Hiking, Camping & Boating
- Alpkit — Bivvy Bag Guide
- Bushwalking Victoria — Sleeping Mats
- REI — How to Pack and Hoist a Backpack
Related guides
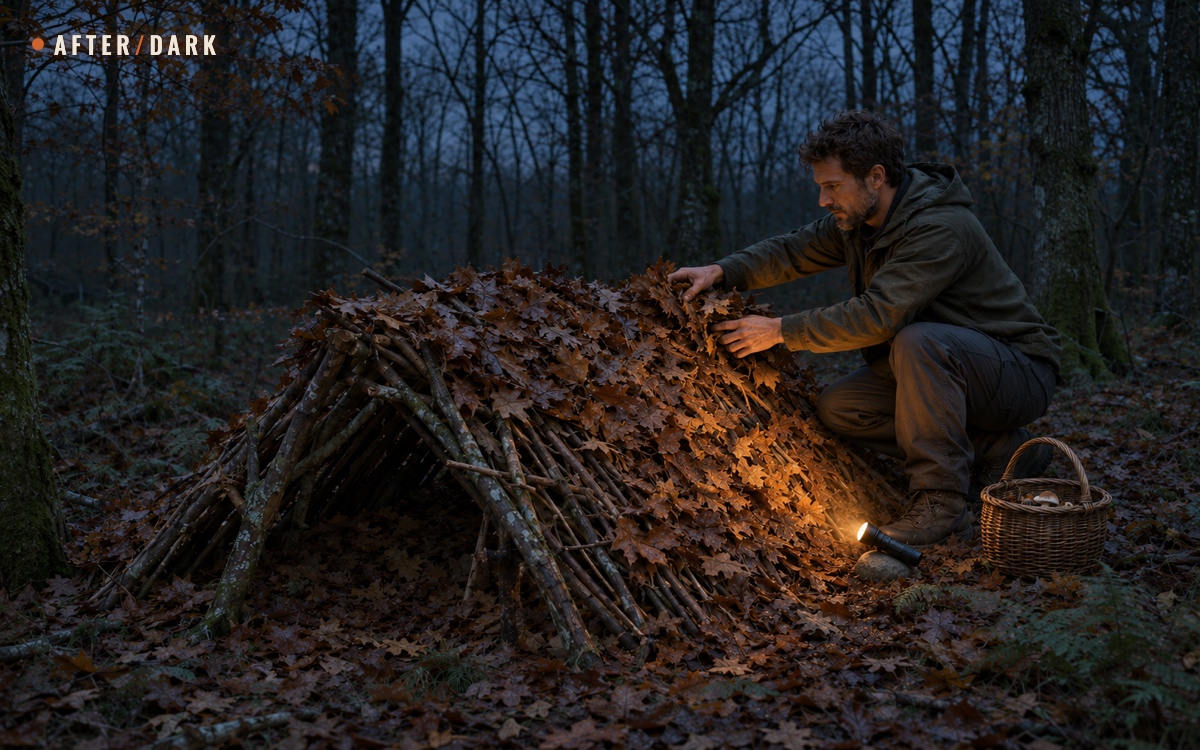
Stuck Outdoors Overnight: What to Do Without a Tent
A day walk can become an unplanned night outside. Choose a sheltered position, use what you actually have, and make the next few hours manageable.
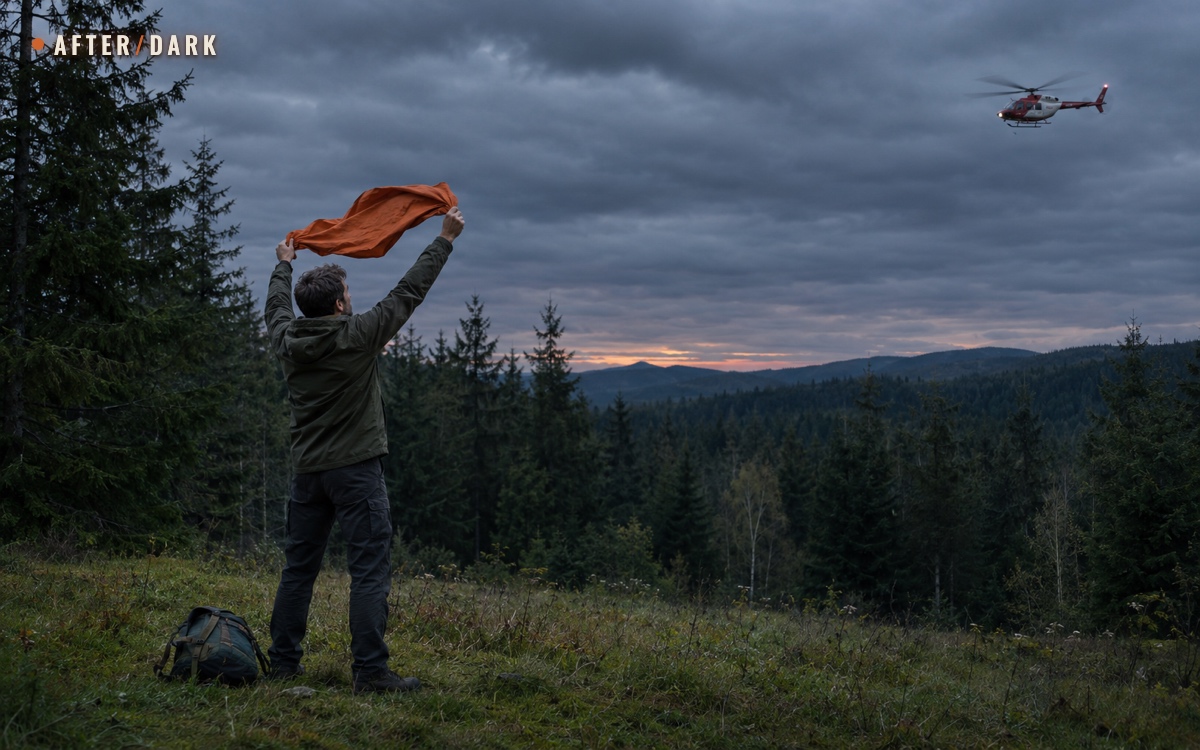
How to Signal for Help When Lost Outdoors
From calling with nothing in your pockets to using satellite SOS: choose a signal someone can receive, explain where you are, and keep yourself findable.
What to Do If You Get Lost in the Woods
A practical plan for losing your way in a forest: recover a known route when you can, and make yourself easier to find when you cannot.