What to Do If You Get Lost in the Woods
A practical plan for losing your way in a forest: recover a known route when you can, and make yourself easier to find when you cannot.
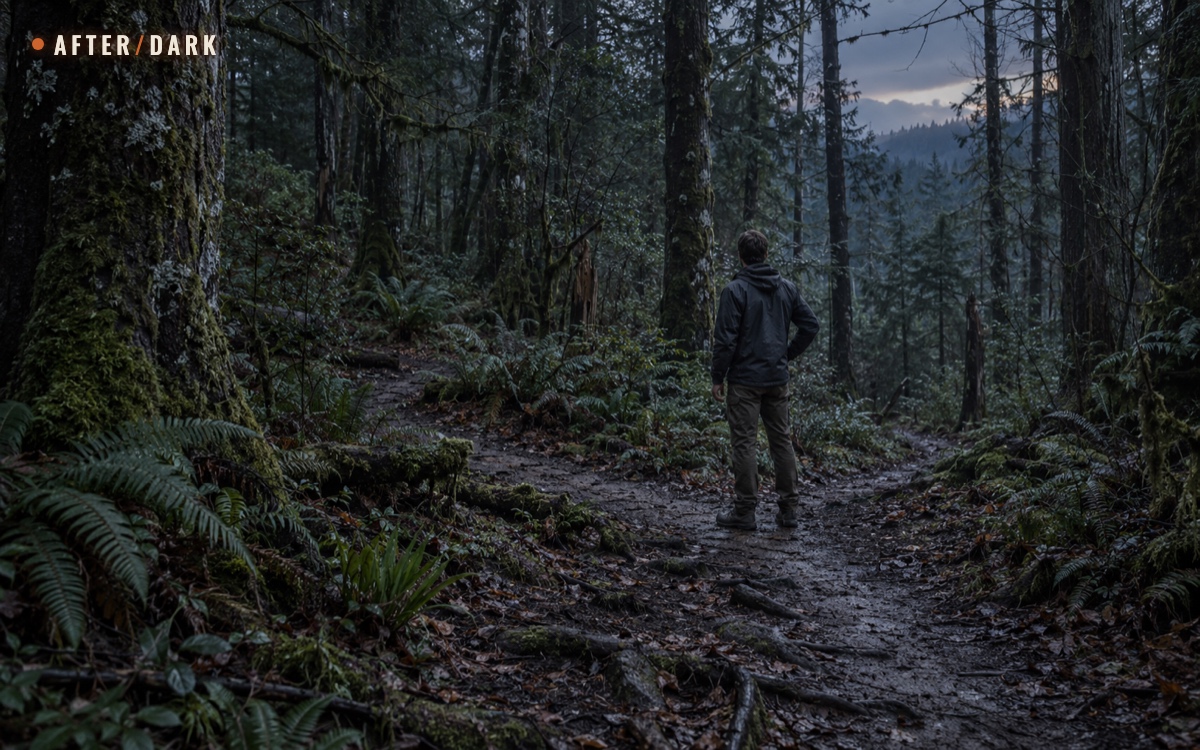
Short answer
Key takeaways
- Start with the last location you can identify confidently and the sequence of landmarks since it.
- Equipment helps you check a route; it does not turn an uncertain direction into a confirmed way out.
- A phone may locate you without cell service, but saved map detail and a way to contact help are separate requirements.
- If the return route is uncertain or no longer safe, establish a visible waiting position and use the signalling resources you have.
- Do not assume a search has started simply because you are overdue or your phone displays your location.
A missed forest junction can become a much larger problem if each uncertain turn leads to another. Your first useful result is a clear account of what you know: the last recognizable place, how you reached the current spot, and the resources available now.
This guide covers losing your way while traveling on foot in woodland, including when a long disruption has removed dependable communications. Start with your actual situation below. You do not need a prepared pack to begin.
If You Have No Equipment
You have no usable phone, map, compass, light, or pack. You still have observations and memory to work with. The stop, think, observe, and plan sequence gives those a purpose before you take another step.
- Stop where you are, unless the spot itself is immediately unsafe. If you are on a trail, keep that connection. If you must move away from a hazard, use the nearest safer position rather than starting another journey.
- Name the last place you actually recognized. It might be a signed junction, a footbridge, or the point where you stepped off the path. Separate that memory from places that merely look similar.
- Reconstruct the sequence after it. Remember the turns, changes in slope, and distinctive objects you passed. Look back: a junction or marker may be easier to recognize from the return direction.
- Assess the visible way back. An identifiable, safe stretch to a point you just passed gives you something to evaluate. Several possible paths disappearing into similar trees do not. Use the return checks below before setting off.
- If the route remains uncertain, establish a waiting position. Stay near your stopping point, choose nearby weather protection without losing your connection to the trail, and make yourself noticeable to passing people. The waiting section explains what to do with only clothing, your voice, and the ground around you.
For example, remembering “I left the path beside that split boulder” is useful if the boulder and the short, unobstructed way back are still identifiable. Remembering “the car was somewhere downhill” does not identify the intervening route. These are different levels of information, even when both feel familiar.
Choose Your Next Action
Check what is usable now. A flat phone battery puts you in the no-phone branch; a powered phone with no downloaded map offers different help from a device recording your walk.
Use your available information to select the next task.
| What you have | First useful check | What you can establish |
|---|---|---|
| No navigation equipment | Last known place and visible or remembered landmarks | Whether a recognizable return stretch exists |
| Phone, no service, saved map or recorded track | Open the saved area and compare it with the ground | A possible position and the route you actually walked |
| Phone, no saved map | Check for coordinates, saved route photos, and available emergency communication | Facts to report; not necessarily a navigable route |
| Relevant paper map and compass | Match terrain and trail features, then check orientation | Whether a proposed location fits the surroundings |
| Help already contacted | Confirm the location you reported and the instructions received | Where responders expect to find you |
Check What Your Phone Can Actually Tell You
If you cannot establish a safe return and can contact local emergency services, do that promptly. You can provide an imperfect description and improve it during the conversation; a finished navigation exercise is not a prerequisite for asking for help.
Open information already on the device
Open your saved map area or the app used for the walk. Check that the map has actual trails and terrain at the scale you need. A blank background with a location dot is not a downloaded map. The NPS app's offline mode, for example, can show location on previously downloaded park maps without cellular service. That capability does not mean every app has the same data or functions.
If you recorded a track, distinguish the line you actually walked from a route you intended to follow. Find the last recognizable junction on that recorded line and compare it with your recollection. A route saved by another person cannot confirm which branch you took today.
Without a downloaded map, look for information already stored: a photograph of the trail board, a screenshot with place names, a trip note, or coordinates displayed by an installed app. These may help identify your starting area or explain your situation. Keep the limits of the evidence clear: a photograph of the car park says where you began, not where you now stand.
Cross-check the location marker
Look for agreement between the screen and the surroundings: a junction, a bridge, the side of a valley, or a distinctive bend. Tree cover and obstructed satellite signals can reduce GPS accuracy. If the dot drifts across a stream while you remain stationary, do not interpret each movement as a new instruction to walk.
When reporting coordinates, read them exactly as displayed, including minus signs or direction letters, and identify the app's format if asked. Tell the recipient when the fix is uncertain or appears old. A location fix and a successfully delivered message are separate things.
Once you have extracted the useful information, put the screen to sleep between checks. After contacting responders, keep the phone available for their calls and follow their communication instructions. Preparing and testing the downloads beforehand is covered in our offline-map guide.
Match a Paper Map to the Ground
A relevant topographic map lets you compare several features at once. Start around your last known location rather than searching the whole sheet for a shape that vaguely resembles the hill ahead.
Use the map's symbols, contour lines, and visible landmarks in this order:
- Find the last confirmed junction, bridge, or other mapped point.
- Trace the path you remember taking from it. Note the possible places where your route could have diverged.
- Compare the arrangement of nearby features with each candidate location. Check which side of the trail slopes upward and whether a stream, bend, or woodland edge is where the map says it should be.
- Rotate the map so identifiable features on it face their counterparts on the ground. Check another feature before accepting the match.
Suppose two nearby junctions both have three branches. One sits just before a bridge and the other on a hillside without a crossing. The branch count alone cannot distinguish them; the bridge and terrain help test the match. If you cannot identify a consistent set of features, keep the position uncertain.
Use the compass as a direction check
Keep a magnetic compass level and away from your phone and metal objects. Its north-seeking needle points to magnetic north, which may differ from the north reference printed on your map. Check the map information and your compass's correction method; do not copy a correction value from another country or an old example.
With your position established, use a familiar baseplate compass to check a known trail segment. Following the manufacturer's map-and-compass procedure:
- Place its straight edge from your known point toward the next mapped point. The travel arrow must point toward the destination.
- Turn the capsule to align its north lines with the map's north reference, with N toward map north.
- Apply the local north correction using your compass's scale or adjustment method. Fixed scales and adjustable compasses work differently; use the method for your instrument.
- Hold the compass level and turn yourself until the needle aligns with the corrected orienting reference. The travel arrow now indicates the direction to compare with the trail.
Compare the resulting direction with the actual trail. Use the instrument and correction method you understand. A bearing across dense woodland does not establish a walkable shortcut, and a compass by itself cannot tell you your position.
Decide Whether You Can Retrace the Route
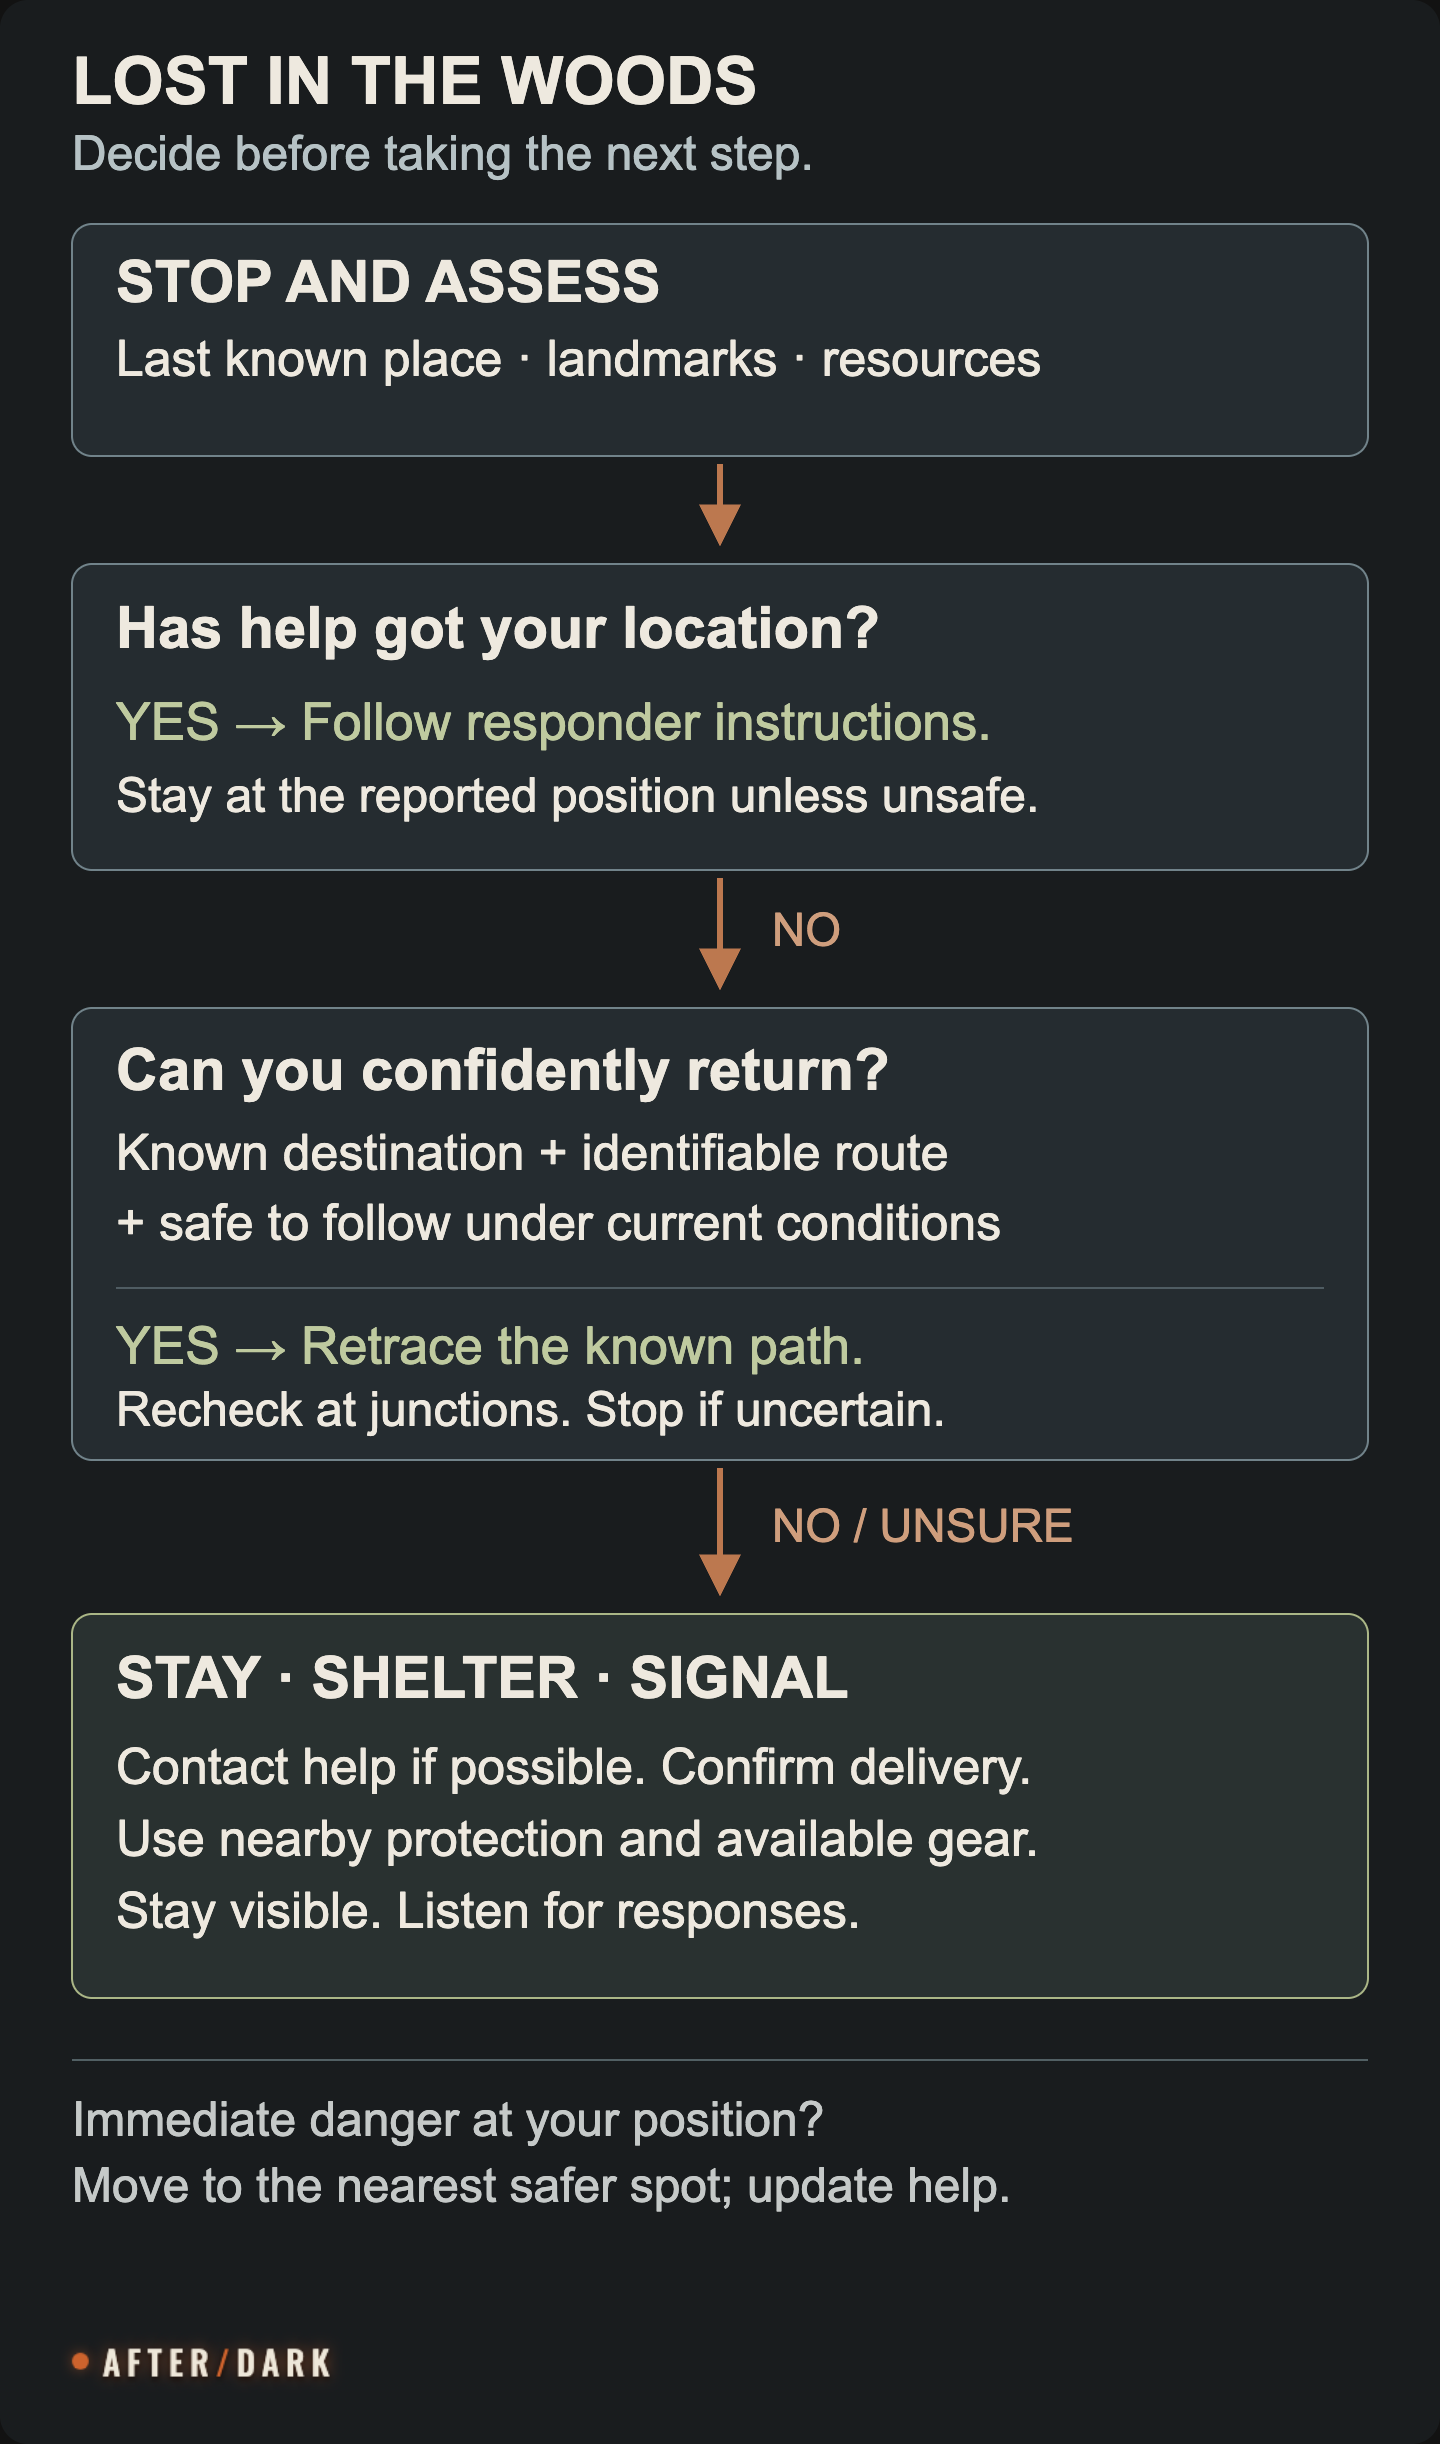
The useful distinction is between recognizing the way back and exploring for one. NPS recommends retracing your steps when it is safe, and seeking help when you cannot. Once you have reported your position, follow the responders' directions instead of starting an independent return attempt.
Before returning, be able to answer all three questions:
- Where am I returning to? Name a known point, not just a direction or a hoped-for road.
- Can I identify the intervening path? A remembered sequence, visible route, or recorded track should agree with the ground.
- Can I follow it under the conditions now? Consider remaining light, weather, the group's ability, and obstacles that may have changed since you passed.
If those answers support returning, follow the same known path, keeping companions together. At each junction, confirm the next part before leaving the junction. Stop if the expected landmark is missing, the route becomes ambiguous, or continuing would require a new hazardous crossing or scramble.
Pay particular attention to trail markings. A marker may be visible only when you look back, but arbitrary ribbon is not necessarily a hiking route: the Mountain Safety Council notes that some coloured tape marks conservation work. Check the trail's actual marking system rather than following any bright object through the trees.
What a successful return looks like
Reaching a familiar-looking tree is not the end of the check. At the known junction or other reference point, confirm its identity, your intended destination, and the route connecting them. If you reach a staffed location or other people, explain what happened and ask for local assistance. If anyone has been alerted, tell them when you are safely accounted for.
Contact Help With the Facts You Have
Use the local emergency number or the area's official emergency contact when you are lost and cannot establish a safe return. Describe the situation without waiting for it to deteriorate. Communication options depend on the area and equipment; an ordinary phone, satellite messenger, and locator beacon have different capabilities.
Organize your report around five facts:
- Who is there: your name and number of people.
- Where you started: forest or park, trailhead, intended route, and departure time if known.
- What you know about your location: coordinates if available, last confirmed place, nearby landmarks, and which parts are uncertain.
- What you have: clothing colours, shelter, light, water, and remaining communication options.
- What is happening now: conditions at your position and anything that affects the group's ability to wait or move.
For example: “Two adults, started at the west trailhead, last confirmed point was the signed footbridge. We are beside a three-way junction. The phone location is drifting. One blue jacket, one grey jacket, one torch.” That gives a responder usable observations without inventing precision.
Confirm that the call or message reached someone. Follow their instructions about location, callbacks, and any movement. With a supported satellite SOS device, use its emergency function as instructed by the manufacturer; do not assume that a GPS receiver also transmits an alert.
If nobody knows you are missing
A search does not start merely because a person feels lost. Leaving a trip plan with a responsible contact gives someone a route and return time to act on. If that was not done, tell any reachable contact explicitly that you are lost, need help, and need them to notify the appropriate local service.
With no working communications, no recognizable return, and no confirmed search, concentrate on the actions still available: maintain a locatable position, signal passing people, protect yourself from the weather, and reassess actual new information. Daylight revealing a known junction is new information. The passage of another hour, by itself, does not reveal a route. There is no universal waiting period after which walking in an arbitrary direction becomes a sound plan.
Make a Waiting Position Work
Remaining in place is an active task. You need a spot that offers reasonable protection, keeps the group together, and lets you attract attention. If responders have your location, stay there unless it becomes immediately unsafe or they direct you to move; report a necessary relocation as soon as possible.
Choose protection close to your stopping point
Look at the ground, the wind, and what is overhead. Prefer firm ground away from a stream channel or exposed edge. Avoid sheltering beneath dead trees, leaning trunks, or hanging broken limbs; these are hazard-tree features identified by the Forest Service. Nearby protection is useful only if reaching it does not involve losing the trail or the place you reported.
With only the clothes you are wearing: close the jacket, use its hood if it has one, and keep clothing on for weather protection. Use nearby terrain to reduce wind exposure while remaining visible from the path. Check where rain is running before sitting down. Choose the driest available surface; do not spend your remaining light wandering for an ideal campsite or gathering materials for an elaborate shelter.
With a pack: put on the available weather layer and use the emergency shelter or bivy you carry. A sitting mat can separate you from wet ground. Keep light, water, and signalling items accessible rather than burying them inside the shelter. The goal is a workable place to wait with the equipment already present.
Be visible and listen for responses
Without a whistle or light, call out when you hear people and pause to listen. Wave both arms when someone is within sight. Choose visibility without climbing a tree, scrambling onto a rock face, or leaving your position to chase a distant sound.
With a whistle, use repeated groups of three blasts with pauses to listen, following the signalling guidance from AdventureSmart. A light can attract attention after dark. A bright shelter or pack cover can help mark your position; keep the clothing you need for warmth on your body. These actions improve noticeability without requiring a fire.
Deal with the next practical need
Use the water and food you already have. If water access becomes a constraint, the guide to finding and collecting water in the wild explains what can be observed nearby and what collection requires. Keep any decision about movement consistent with your location plan and the instructions of responders. Collected fresh water still needs an appropriate drinking-water treatment method.
As light and weather change, check the shelter, visibility, and communication arrangements. A torch enables essential tasks around the waiting position; it does not resolve an unknown route. Reassess movement when reliable information changes, not simply because waiting feels unproductive.
Zombie Scenario: The Junction After the Outage
Fictional scenario
During the third day of a communications outage, two travelers take a forest footpath toward a known meeting place. Beyond a fallen branch, they realize they cannot identify the next junction. Their phone has battery power and a saved trail map, but no recorded track.
The map shows two similar junctions. One traveler remembers a footbridge, while the other is unsure whether it was before or after their last turn. They stop trying to fit that uncertain memory to the nearest dot. Their last confirmed point remains the bridge; their current position remains uncertain.
They cannot contact anyone yet, so they do not treat rescue as already arranged. They choose nearby protection within sight of the path, keep their bright pack cover visible, and use their whistle with listening pauses. Their immediate result is a shared account of what they know and a stable place from which to act when they obtain reliable information.
Frequently Asked
Can moss tell me which way is north?
Should I follow a stream downstream to find people?
What should we do if someone in our group is missing?
Sources
- US Forest Service — If You Get Lost
- National Park Service — Outdoor Emergency Plan
- National Park Service — Grand Canyon Mobile App and Offline Use
- GPS.gov — GPS Accuracy
- Ordnance Survey — Map Reading: From the Beginner to the Advanced Map Reader
- Suunto — Baseplate Compasses User Guide
- AdventureSmart — Communication and Signalling
- AdventureSmart — The Three Ts
- US Forest Service — Recreating Outdoors: Hazard Trees
- National Park Service — Ten Essentials
- National Park Service — Mosses and Liverworts
Related guides
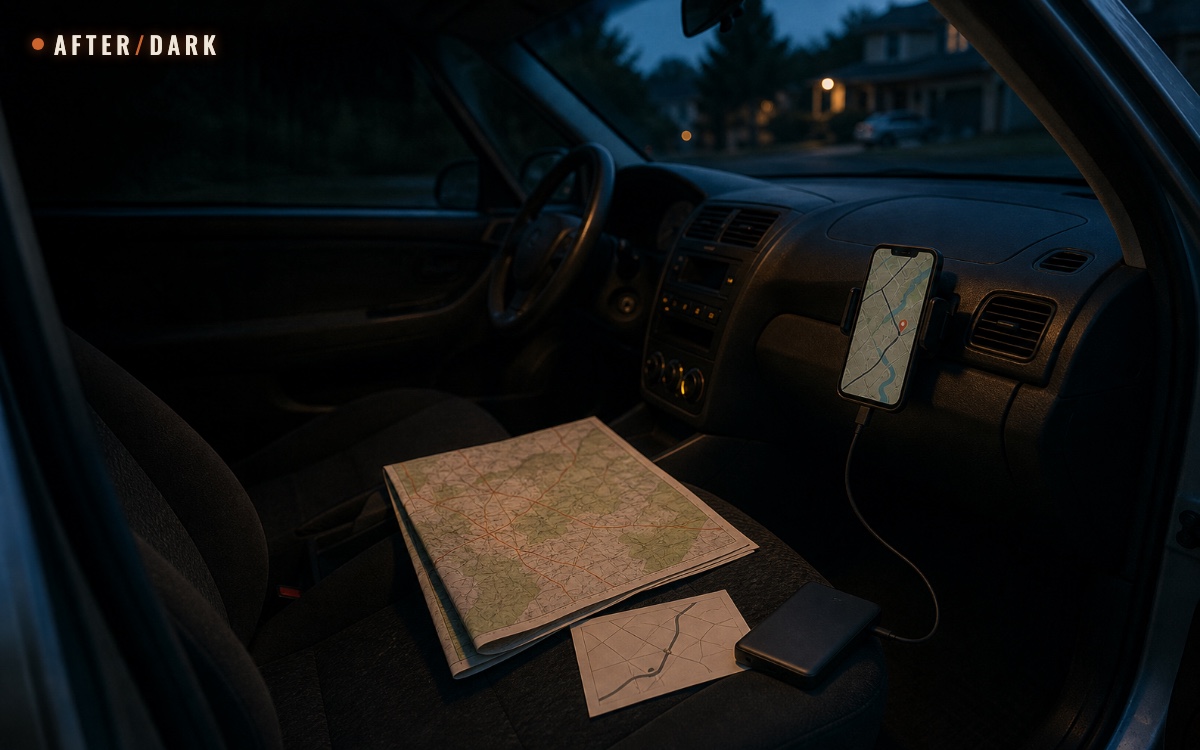
How to Prepare Offline Maps for an Emergency Evacuation
Build a three-layer navigation pack that keeps household routes, destinations, and decision points usable when mobile data is unavailable.
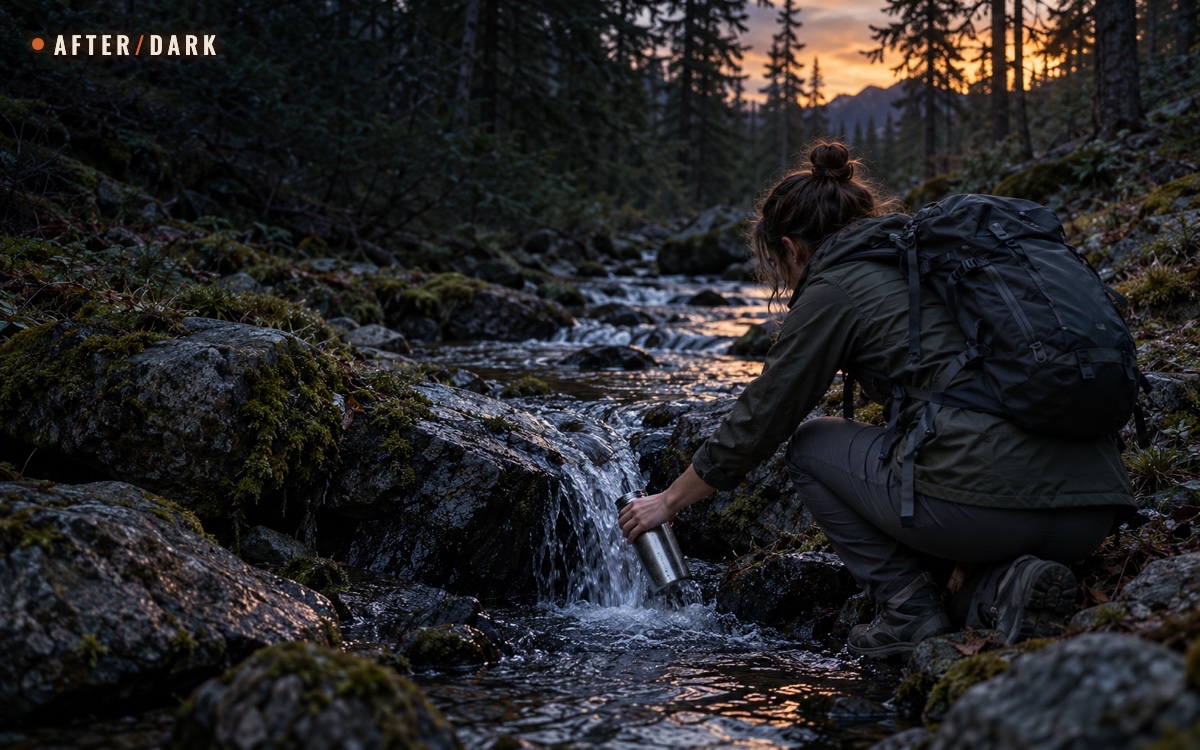
How to Find and Collect Fresh Water in the Wild
Locate reachable water, work with the equipment you actually have, and collect from streams, springs, rock pools, or rainfall.
How to Make Water Safe to Drink in the Wild
Use a pot and heat, a filter and disinfectant, or sunlight to turn collected fresh water into a drinking supply. Follow the steps for what you have.