How to Wash Dishes Without Running Water
Build a household wash, rinse, and dry routine with a measured water budget and a fallback when the full process cannot be completed.
Short answer
Key takeaways
- Check water safety, supply, and the wastewater outlet separately; a usable sink does not establish all three.
- Give dirty dishes, washing, rinsing, and clean drying their own positions before opening the water reserve.
- An active water advisory can require additional steps; ordinary washing is not a substitute for required sanitizing.
- Measure a complete meal's cleanup, including water changes and the final equipment reset.
- Keep a meal and tableware fallback that works when water, heating, or wastewater capacity runs short.
Washing dishes without running water requires a complete path from a dirty plate to a dry, usable one: safe water, detergent, separate rinsing, any required sanitizing, and somewhere for wastewater to go. Clean portable basins can replace the working space normally provided by a sink. They do not remove the need for those steps.
During a long disruption, this becomes part of the meal plan. The household needs enough clean bowls for breakfast, space to wash the cooking pot, and water left for the next round. A method that handles one cup but leaves yesterday's cookware waiting is unfinished.
This guide helps you prepare and test that routine at home. It starts with known-safe stored water and ordinary household dishes, then explains what changes when an advisory, loss of electricity, or drainage restriction prevents the usual process.
Check Water Safety and the Drain Before Setting Up
Find out why the tap is unavailable and whether a current notice affects your address. Keep the utility or local authority's instructions with the kit, including where to obtain updates. Record the notice's date; a saved instruction from an earlier interruption may describe different conditions.
Availability and safety are separate questions. Water returning to the tap does not by itself establish that it is suitable for dishes. CDC says not to wash dishes with water known or suspected to be unsafe. Boiling or disinfecting also cannot make water containing fuel or toxic chemicals safe. Use the water source approved for the current situation. CDC safe-water guidance.
Check the outlet independently. San Luis Obispo County's sewage guidance says to stop discharging wastewater into building drains when a sewer or septic blockage is suspected or evident. An empty sink is not evidence that the system beyond it is working. County sewage-disposal guidance.
Choose a dishwashing plan from the actual water and drainage conditions.
| Condition | Starting decision |
|---|---|
| No tap supply; safe stored water; usable wastewater outlet | Set up the portable washing and rinsing station. |
| Active water advisory | Read its dishwashing instructions before choosing the water and procedure. |
| Suspected unsafe water with no confirmed safe alternative | Keep that water out of the dishwashing station; use the fallback meal and tableware plan. |
| Drainage unavailable or use restricted | Establish the locally accepted collection and disposal arrangement before producing wash water. |
| Electricity also unavailable | Check whether the chosen washing procedure depends on heating that you can no longer provide. |
Do not interpret every advisory as a boil-water notice. A do-not-drink notice can contain separate instructions for dishes, while a do-not-use notice prohibits using the affected tap water. Follow the notice that applies to your address. CDC advisory types.
Choose the Dishes Before Choosing the Basins
Lay out everything produced by one realistic meal: eating bowls, cups, spoons, serving equipment, the pot, and its lid. Include preparation items that normally disappear into the dishwasher. This is the load the station must accommodate.
Try the largest washable item inside an empty basin. Can you reach its interior, turn it, and lift it without striking the tap or cupboard? Check the rack too. A pot lid that fits the basin but blocks every plate slot creates another queue after washing.
For the outage menu, favor dishes that fit the station and meals with fewer preparation stages. Serving directly from one cooking vessel removes a serving dish from the load. Replacing a sequence of individual pan-cooked meals with one shared meal may reduce repeated setup. These are planning choices; assess them against the food and equipment your household actually uses.
Connect this decision to your plan for cooking without electricity. Its menu and equipment choices determine much of the washing burden. Write the cleanup equipment beside each meal rather than discovering it after the water has been poured.
Keep some protected clean tableware outside the active washing cycle. It provides a way to serve the next meal if the current batch cannot be finished. Suitable disposable plates, cups, and utensils can provide another limited fallback, with storage and rubbish capacity included in the plan. Count complete place settings; a stack of plates alone may not match the meals you intend to serve.
Set Up a Dishwashing Station Without Running Water
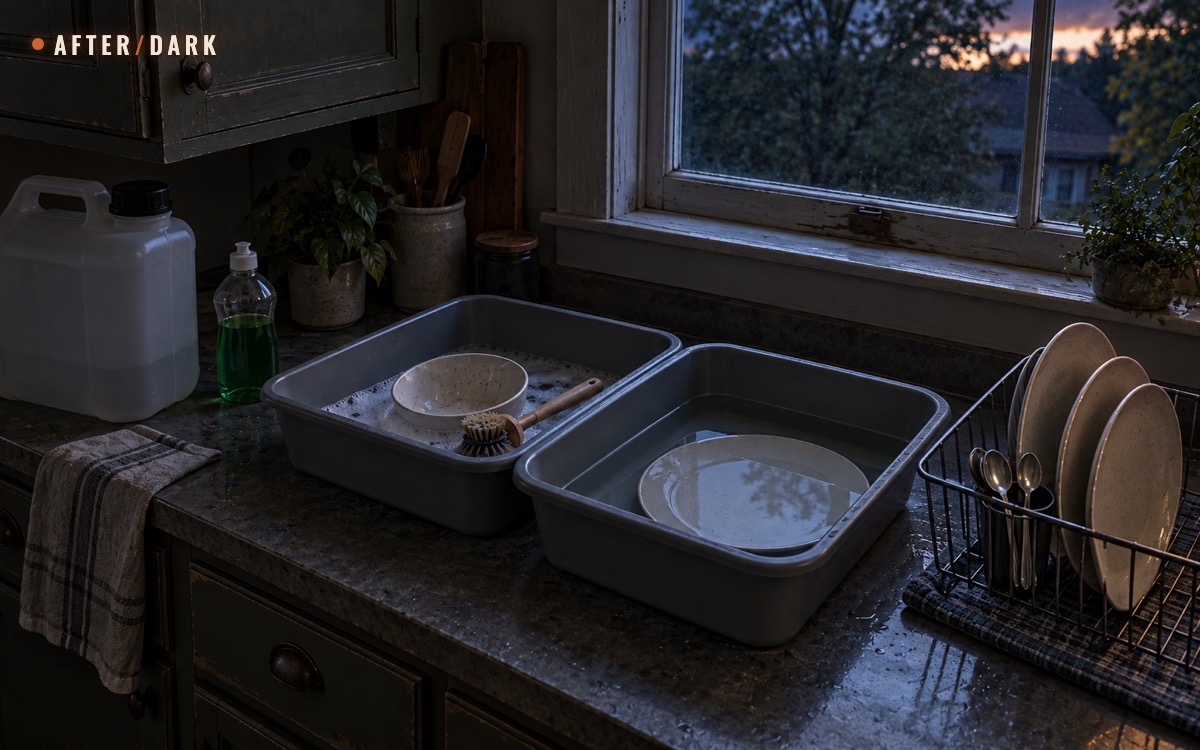
Use a stable counter or other suitable work surface with space for a full basin and room to lift it. Test the arrangement with the person who will operate it. The useful fill level is one they can manage, including the eventual trip to the approved disposal point.
The household layout below is an editorial planning aid. It separates the work into visible positions so another person can continue it without guessing.
Give each stage a fixed position; add a separate sanitizing container when the applicable procedure needs one.
| Position | What belongs there | What to establish in the trial |
|---|---|---|
| Dirty arrival | Used dishes, scraper, food-scrap container | Incoming dishes do not occupy the clean rack. |
| Wash | Basin, dish detergent, suitable brush or pad | The largest item can be cleaned and lifted out. |
| Rinse | Separate clean-water basin or controlled fresh-water pour over a catch basin | All surfaces can be rinsed without losing water across the counter. |
| Required sanitizing stage | Separate suitable container and the applicable instructions | The full specified process can be completed. |
| Dry and store | Clean rack with drainage collection, protected storage nearby | The entire load fits without wet dishes being stacked. |
Keep the water dispenser within reach but clear of dirty dishes and splashes. Use the dispensing method already established in your emergency water-storage plan. A heavy reserve container can stay in its tested position while a clean service container supplies measured amounts to the station.
Provide a separate handwashing arrangement and include its water in the household budget. The rinse basin should have one clear job. Mark the outside of containers if household members might confuse washing, rinsing, and wastewater collection.
Protect the clean end from splash and food preparation. University of Minnesota Extension advises keeping clean dishes away from dirty equipment, washing hands before handling clean equipment, and maintaining a clean drying rack. Its home food-business guidance provides useful separation principles here; it is not a claim that this household setup meets commercial requirements. UMN sink guidance.
Work Through the Whole Wash, Rinse, and Dry Cycle
The ordinary household sequence is washing in soapy water, rinsing with clean water, and air-drying, as described in University of Minnesota Extension's temporary-kitchen guidance. An active advisory or another applicable food-safety instruction can add requirements. Establish those before starting this cycle.
1. Remove food before using wash water
Scrape or wipe loose food into the waste container. University of Minnesota Extension puts removal of dry debris before wet cleaning, because debris otherwise travels into the cleaning materials and water. UMN cleaning and sanitizing sequence.
Look for the awkward item now: the deep pot, detachable lid parts, or a container with a narrow opening. Read its care instructions before submerging it. If your proposed kit cannot reach the parts that need cleaning, change the item used for the meal or the cleaning equipment before relying on the plan.
2. Wash with detergent and suitable water
Use known-safe water and detergent intended for handwashing dishes. Follow the product's amount and temperature directions. Scrub the food-contact surfaces, rims, and other soiled parts rather than treating a dip in the basin as a completed wash. Detergent, water, and scrubbing form the wet-cleaning stage in UMN's sanitation guidance.
Leave space to work on one item without dropping it onto another. Observe which items force a water change during the trial. Record those replacements honestly; a plan that counts only the first basin fill hides part of the demand.
3. Rinse with clean water
Remove the loosened residue and washing solution with clean water. Rinsing is a separate stage before any required sanitizing. UMN rinsing guidance.
A second basin is one option. A controlled pour from a clean jug over a catch basin is another arrangement to test, especially where counter space is limited. Include every fresh pour in the measurement. If basin water becomes soapy or dirty, replace it rather than counting it as clean rinse water. Look inside cups and bowls as well as across flat plates.
4. Complete any required sanitizing separately
Ordinary washing is not a substitute for a sanitizing step required by an advisory. For a boil-water advisory, CDC recommends disposable tableware where possible and gives a separate handwashing-and-sanitizing procedure. Keep that official dishwashing procedure with your local notice.
For a food-contact sanitizer, verify the intended use, dilution, contact time, and precautions on the actual product. Do not substitute a general surface-disinfection recipe. UMN food-contact guidance.
Never mix bleach or disinfectants with other cleaners. Keep detergent washing and any prescribed chemical stage separate, and follow the label's ventilation and protective-equipment directions. CDC bleach precautions.
Before an outage, put the matching instructions, measuring equipment, timer, and any specified checking supplies together. If the required product or conditions are unavailable, switch to the fallback. Guessing at a stronger solution does not complete the missing procedure.
5. Air-dry and reset
Place finished dishes on the clean rack with room to drain and dry. Avoid packing them together wet. UMN recommends air-drying and keeping the rack clean so finished equipment is not contaminated again. UMN drying-rack guidance.
Include basins, the brush or pad, rack, and collection tray in the cleanup plan. Follow their care instructions and leave washable equipment able to dry before storage. The cycle ends when the next person can set up with clean equipment, not when the last plate leaves the rinse basin.
When Electricity and Hot Water Are Also Unavailable
List what provides the heat your chosen process needs. A stored-water jug supplies water, but it does not make the electric kettle, water heater, or dishwasher work. A battery that keeps a light on does not establish a usable water-heating setup.
Record heating as part of the meal's energy demand. If the same permitted appliance handles both food and wash water, include the extra operating time, vessel, and handling space in the trial. Use your outage-cooking plan and the appliance instructions to establish whether that setup is available in the intended location.
Do not describe an unheated shortcut as equivalent to a prescribed hot-water process. Where the instructions require conditions you cannot supply, move to the planned alternative: protected clean tableware or suitable disposables, and food choices that create less equipment to wash. Ordinary soapy water also should not be presented as a proven heat-sanitizing bath.
Reassess the next meal before the clean stock is exhausted. Record how many complete settings remain and what cooking items that meal would add. If the only clean pot is also the only practical washing vessel, the equipment plan needs another arrangement. Discover that overlap while normal services remain available.
Measure Water Per Complete Meal, Not Per Basin
There is no single household dishwashing allowance established by this guide. Your load, basin geometry, residue, rinsing method, and any required sanitizing step determine the amount. A realistic test is more useful than assigning every household the same small bottle of water.
Measure water entering the station with a marked container. Record the initial fills, replacements, fresh rinses, and final equipment cleanup. Keep handwashing and food-preparation entries separate so they remain visible in the overall reserve.
Water per completed load = wash water + rinse water + replacement water + any required sanitizing water + equipment-cleanup water.
The following arithmetic is a hypothetical planning example, not a tested consumption claim, a minimum allowance, or a sanitizing formula. Its assumed load uses an ordinary safe-water washing process without an additional advisory-driven bath. Your measurements may be substantially different.
Illustrative water log for one complete dishwashing load; replace every amount with your own observation.
| Use | Example amount |
|---|---|
| Initial wash water | 3 L |
| Initial rinse water | 2 L |
| Replacement or additional rinse water | 2 L |
| Cleaning the basins and other equipment | 1 L |
| Total for the example load | 8 L |
At two such loads each day, the example requires 8 × 2 = 16 liters per day for this task. Over three days, that is 16 × 3 = 48 liters. Drinking, food preparation, handwashing, and other household uses still need their own entries. If a required sanitizing process adds water, recalculate the load before multiplying it across days.
This calculation may reveal that the first menu is impractical. Respond by reducing unnecessary dishes, choosing different meals, improving the station, or increasing the suitable water supply. Do not force the observed amount down by leaving a required step incomplete.
Also record the largest single withdrawal. Total storage and convenient dispensing are different problems: a reserve may contain enough water while its container is too awkward to refill a basin repeatedly. Compare the measured result with the household emergency water inventory, and avoid counting water already allocated elsewhere as a second supply.
Give Wastewater a Destination Before Producing It
The station creates a second handling task: moving used water out without spilling it through the clean working area. Test that route with an amount the operator can manage. Position the collection container where it can be removed without lifting it over the drying rack.
Where normal drainage remains available, follow the utility or property instructions. Keep food scraps, cooking oil, and grease out of the wastewater stream. EPA specifically warns against sending grease down a septic-connected drain and recommends limiting food solids from garbage disposals. EPA septic-system care.
Where drainage is restricted, obtain the local authority's accepted collection and disposal instructions. Keep any temporary wastewater containers clearly separate from the clean-water supply. Record who will empty them, where they can go, and the usable capacity available before the next meal.
A street storm drain is not a substitute kitchen outlet. EPA explains that storm drains commonly lead directly to rivers, streams, wetlands, or the ocean. Do not use them as a disposal route for dishwater. EPA stormwater guidance.
An outdoor patch of ground is not automatically an approved alternative either. Establish the permitted arrangement for your location rather than assuming that a household detergent makes disposal unrestricted. If there is no usable route or collection capacity, reduce new washing through the fallback plan while obtaining instructions.
The same drainage constraint may affect the household emergency toilet plan. Coordinate the available containers and space, while keeping kitchen washing equipment dedicated to kitchen use.
Run One Complete Meal Test While the Tap Still Works
After/Dark recommends rehearsing with an actual planned meal before depending on the station. This is a household usability and resource test, not a laboratory check of sanitation effectiveness. Normal water service should remain available so you can stop the trial and finish properly if the setup fails.
- Choose the meal and write down the starting conditions. Record the water source, expected procedure, available heating, and wastewater route.
- Retrieve the kit from its real storage place. Include instructions, detergent, measuring container, cleaning tools, basins, rack, and waste collection.
- Serve the meal using the intended dishes. Count the preparation and serving equipment as well as individual place settings.
- Finish the complete cleaning process. Measure every withdrawal and note interruptions, water changes, and any step you could not complete.
- Deal with the used water and equipment. Include carrying, disposal, cleaning, and drying space in the observations.
- Ask another household member to set up from the written record. Missing labels and unclear container purposes often become visible during this handoff.
Record an observation and a specific change, then repeat the part of the trial that failed.
| Observation | Adjustment to test |
|---|---|
| The pot fits only when the basin is nearly full. | Use a better-fitting vessel or change the meal's cookware. |
| One person cannot pour the reserve container accurately. | Test the compatible dispenser or a smaller clean service container. |
| The rack fills before the meal's dishes are finished. | Provide more suitable drying space or reduce the load. |
| The water log ends before equipment cleanup. | Extend the measurement through the full reset. |
| A required heating or sanitizing stage cannot be completed. | Correct that dependency or rehearse the fallback meal. |
| The wastewater container is difficult to carry. | Test smaller transfers and confirm adequate total collection capacity. |
Keep the resulting station card short enough to use beside the counter. It should name the container positions, the observed water use for the tested meal, where the applicable instructions are stored, and the fallback trigger. Put the detailed source guidance behind it rather than compressing important conditions into an improvised recipe.
If you change the menu substantially, test its largest or most awkward load. A successful breakfast trial does not prove that a later meal's pot, grease, extra servings, and drying space will fit the same routine.
Store the Kit Ready for the Next Cycle
Once the equipment is clean and dry, keep the basins, tools, measuring container, and printed directions together. Store chemicals in their labeled packaging according to their instructions, separate from clean tableware and the water reserve.
Review the kit when the household changes detergent, cookware, storage containers, or the number of people it serves. Recheck product dates and directions, and replace supplies as required. A new concentrated product can invalidate the amount written on an old station card.
During an extended interruption, record remaining water and the number of protected clean or disposable place settings after each meal. Check whether the next full cycle is still possible before choosing the next menu. This turns the washing plan into a repeatable household routine rather than a one-time arrangement of filled basins.
Zombie Scenario: The Second Evening Without a Tap
Fictional scenario
On the second evening of a fictional zombie outbreak, the household still has stored water, but neither the tap nor the kitchen's electric appliances works. Their station card shows the water and heating their normal cleanup requires. Tonight they cannot complete that process.
They serve the planned no-cook meal using protected clean tableware and keep its used dishes in the dirty arrival area. The remaining clean settings and suitable disposables are counted for the next meal. Nobody quietly returns an unfinished bowl to the clean cupboard.
When a working, permitted washing setup becomes available, they process the waiting load and include the basins and tools in the reset. Their preparation was useful because it identified when the routine could operate, what it consumed, and what the household would do when it could not.
Frequently Asked
Do I need two basins or three?
Can cleaning wipes replace washing dishes?
Does the water in my dishwashing basins count toward the household reserve?
Can I restart the dishwasher as soon as electricity returns?
Sources
- CDC — How to Make Water Safe in an Emergency
- CDC — Drinking Water Advisories: An Overview
- University of Minnesota Extension — Cooking Without a Kitchen
- University of Minnesota Extension — Sanitizing Equipment and Food Contact Surfaces
- University of Minnesota Extension — Sink Essentials for Your Home Kitchen
- San Luis Obispo County — Sewage Disposal in an Emergency
- US EPA — How to Care for Your Septic System
- US EPA — Take Action at Home
- CDC — Cleaning and Disinfecting with Bleach
Related guides
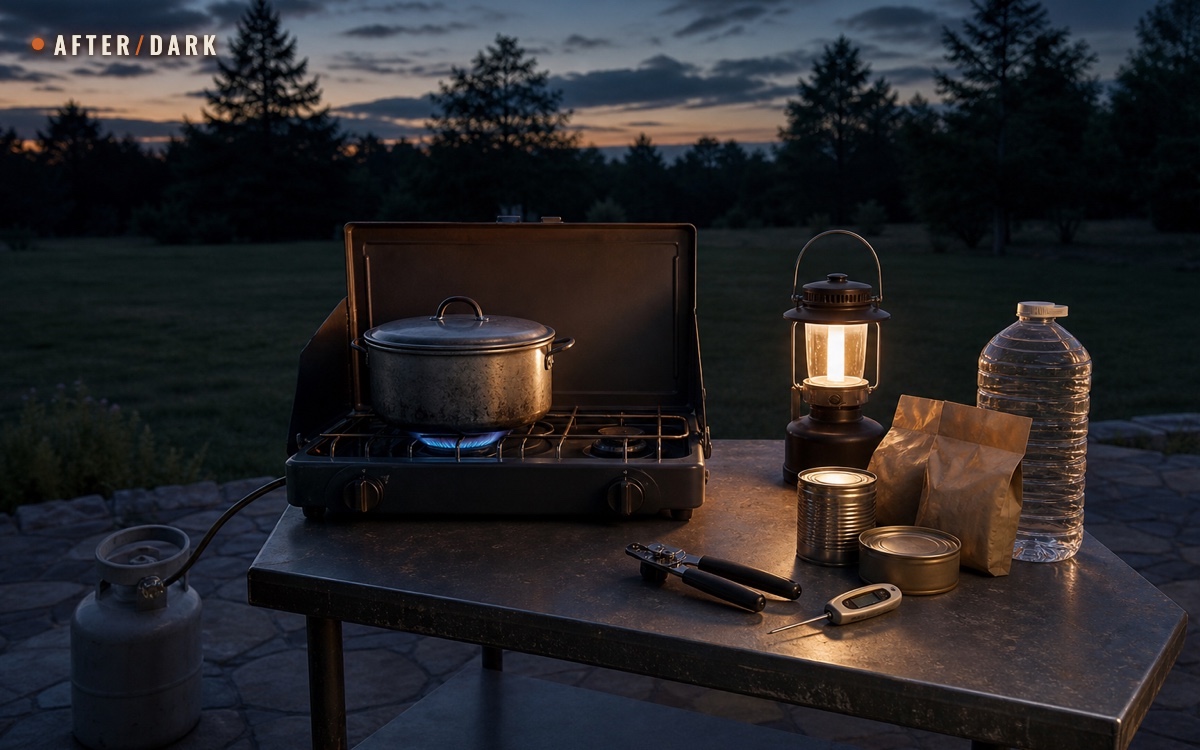
How to Cook Without Electricity During a Long Outage
Build an outage kitchen for an apartment or house with no-cook meals, safe heat options, measured capacity, and clear food-safety limits.
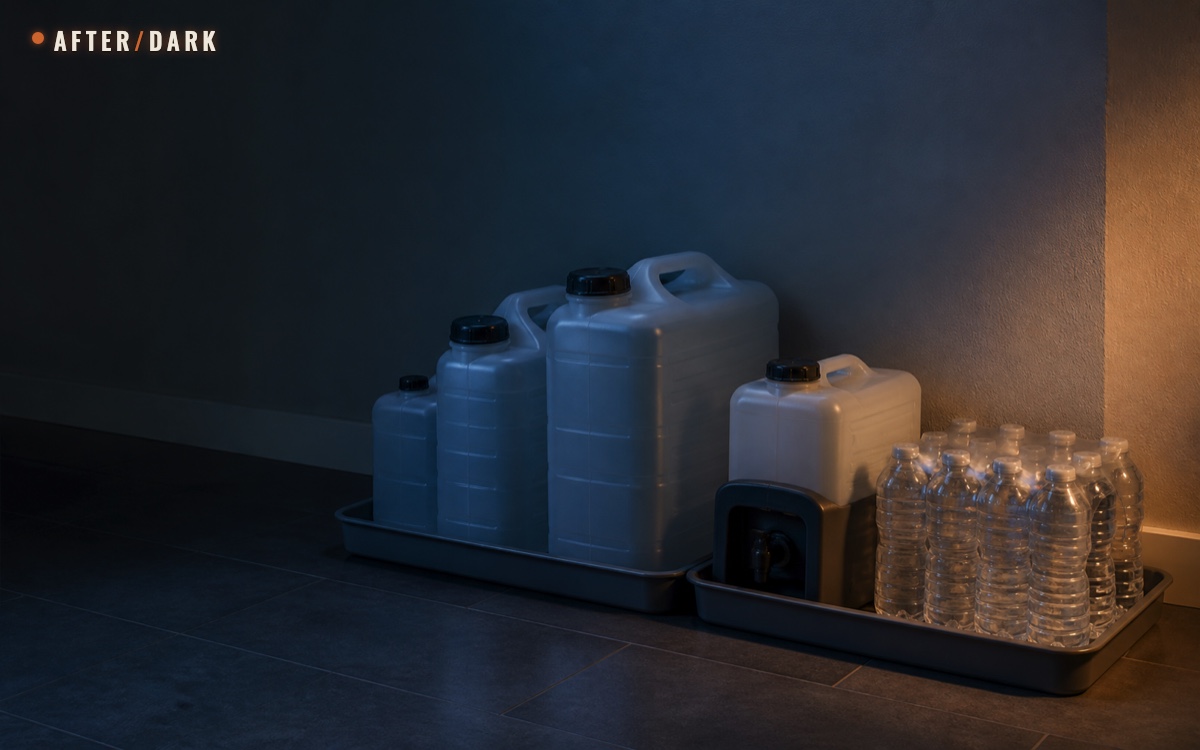
How to Store Emergency Water at Home for a Long Outage
Build a household water-storage system around usable quantities, full container weight, safe filling, accessible placement, and scheduled rotation.

How to Set Up an Emergency Toilet at Home for Water or Sewer Outages
Prepare a usable bathroom fallback before water or sewer service stops, with compatible supplies, a practical layout, and a clear plan for collected waste.