What to Do When You Receive a Tsunami Alert
Turn a tsunami alert into a clear next step: understand the instruction, find the local evacuation route, and stay informed until officials allow a return.
Short answer
Key takeaways
- Read the affected area and required action together; alert names differ between countries.
- An evacuation instruction or natural warning near the coast takes priority over collecting equipment or checking another app.
- Use local tsunami routes and designated safe places; a normal navigation app does not identify tsunami-safe destinations.
- When instructed to prepare, make the route, essentials, assistance, and family contact arrangements ready for departure.
- Someone already outside the hazard or evacuation zone should stay there unless local officials direct otherwise.
- A quieter sea or lower alert level is not permission to return; wait for local instructions.
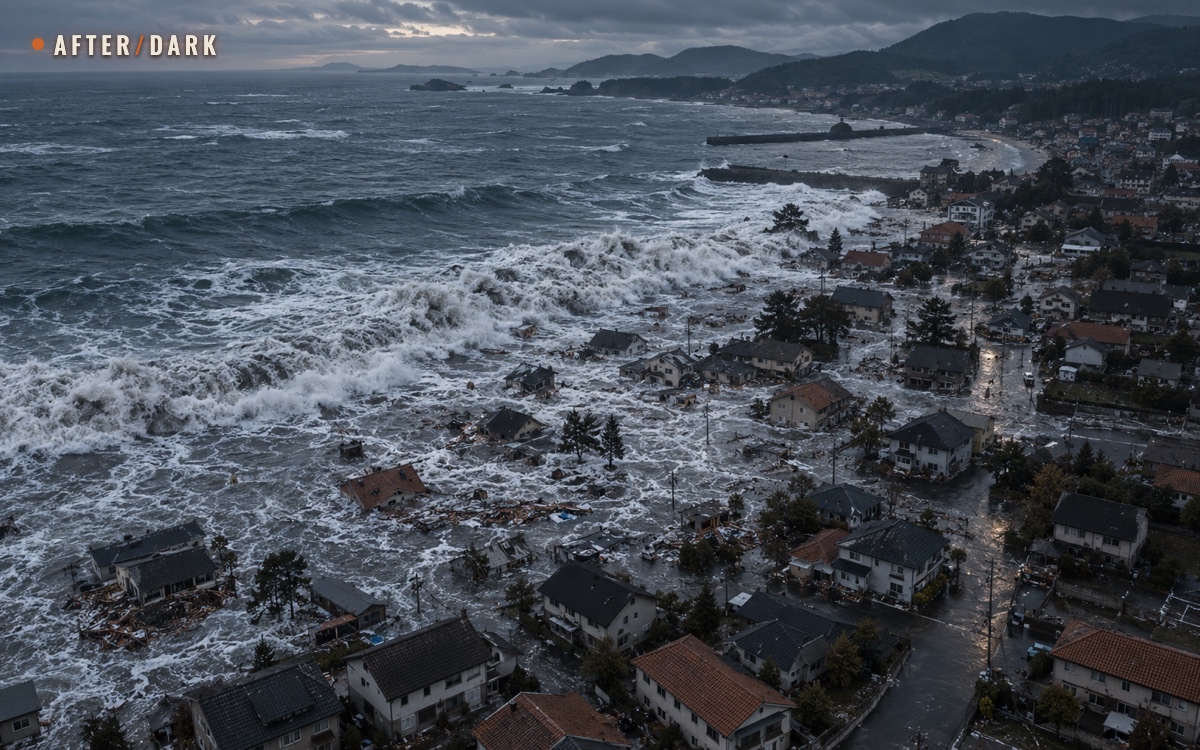
A tsunami alert might reach you on a beach, in a hotel, on the road, or well inland. The useful question is what the message requires where you are now. You may need to leave immediately, stay away from the waterfront, prepare to move, or remain in a place already outside the evacuation zone.
This guide follows that decision through to a waiting place and further updates. It covers responding to an alert while evacuation is possible, including when you have no prepared bag, vehicle, or working phone.
When to Move Without Waiting for Another Message
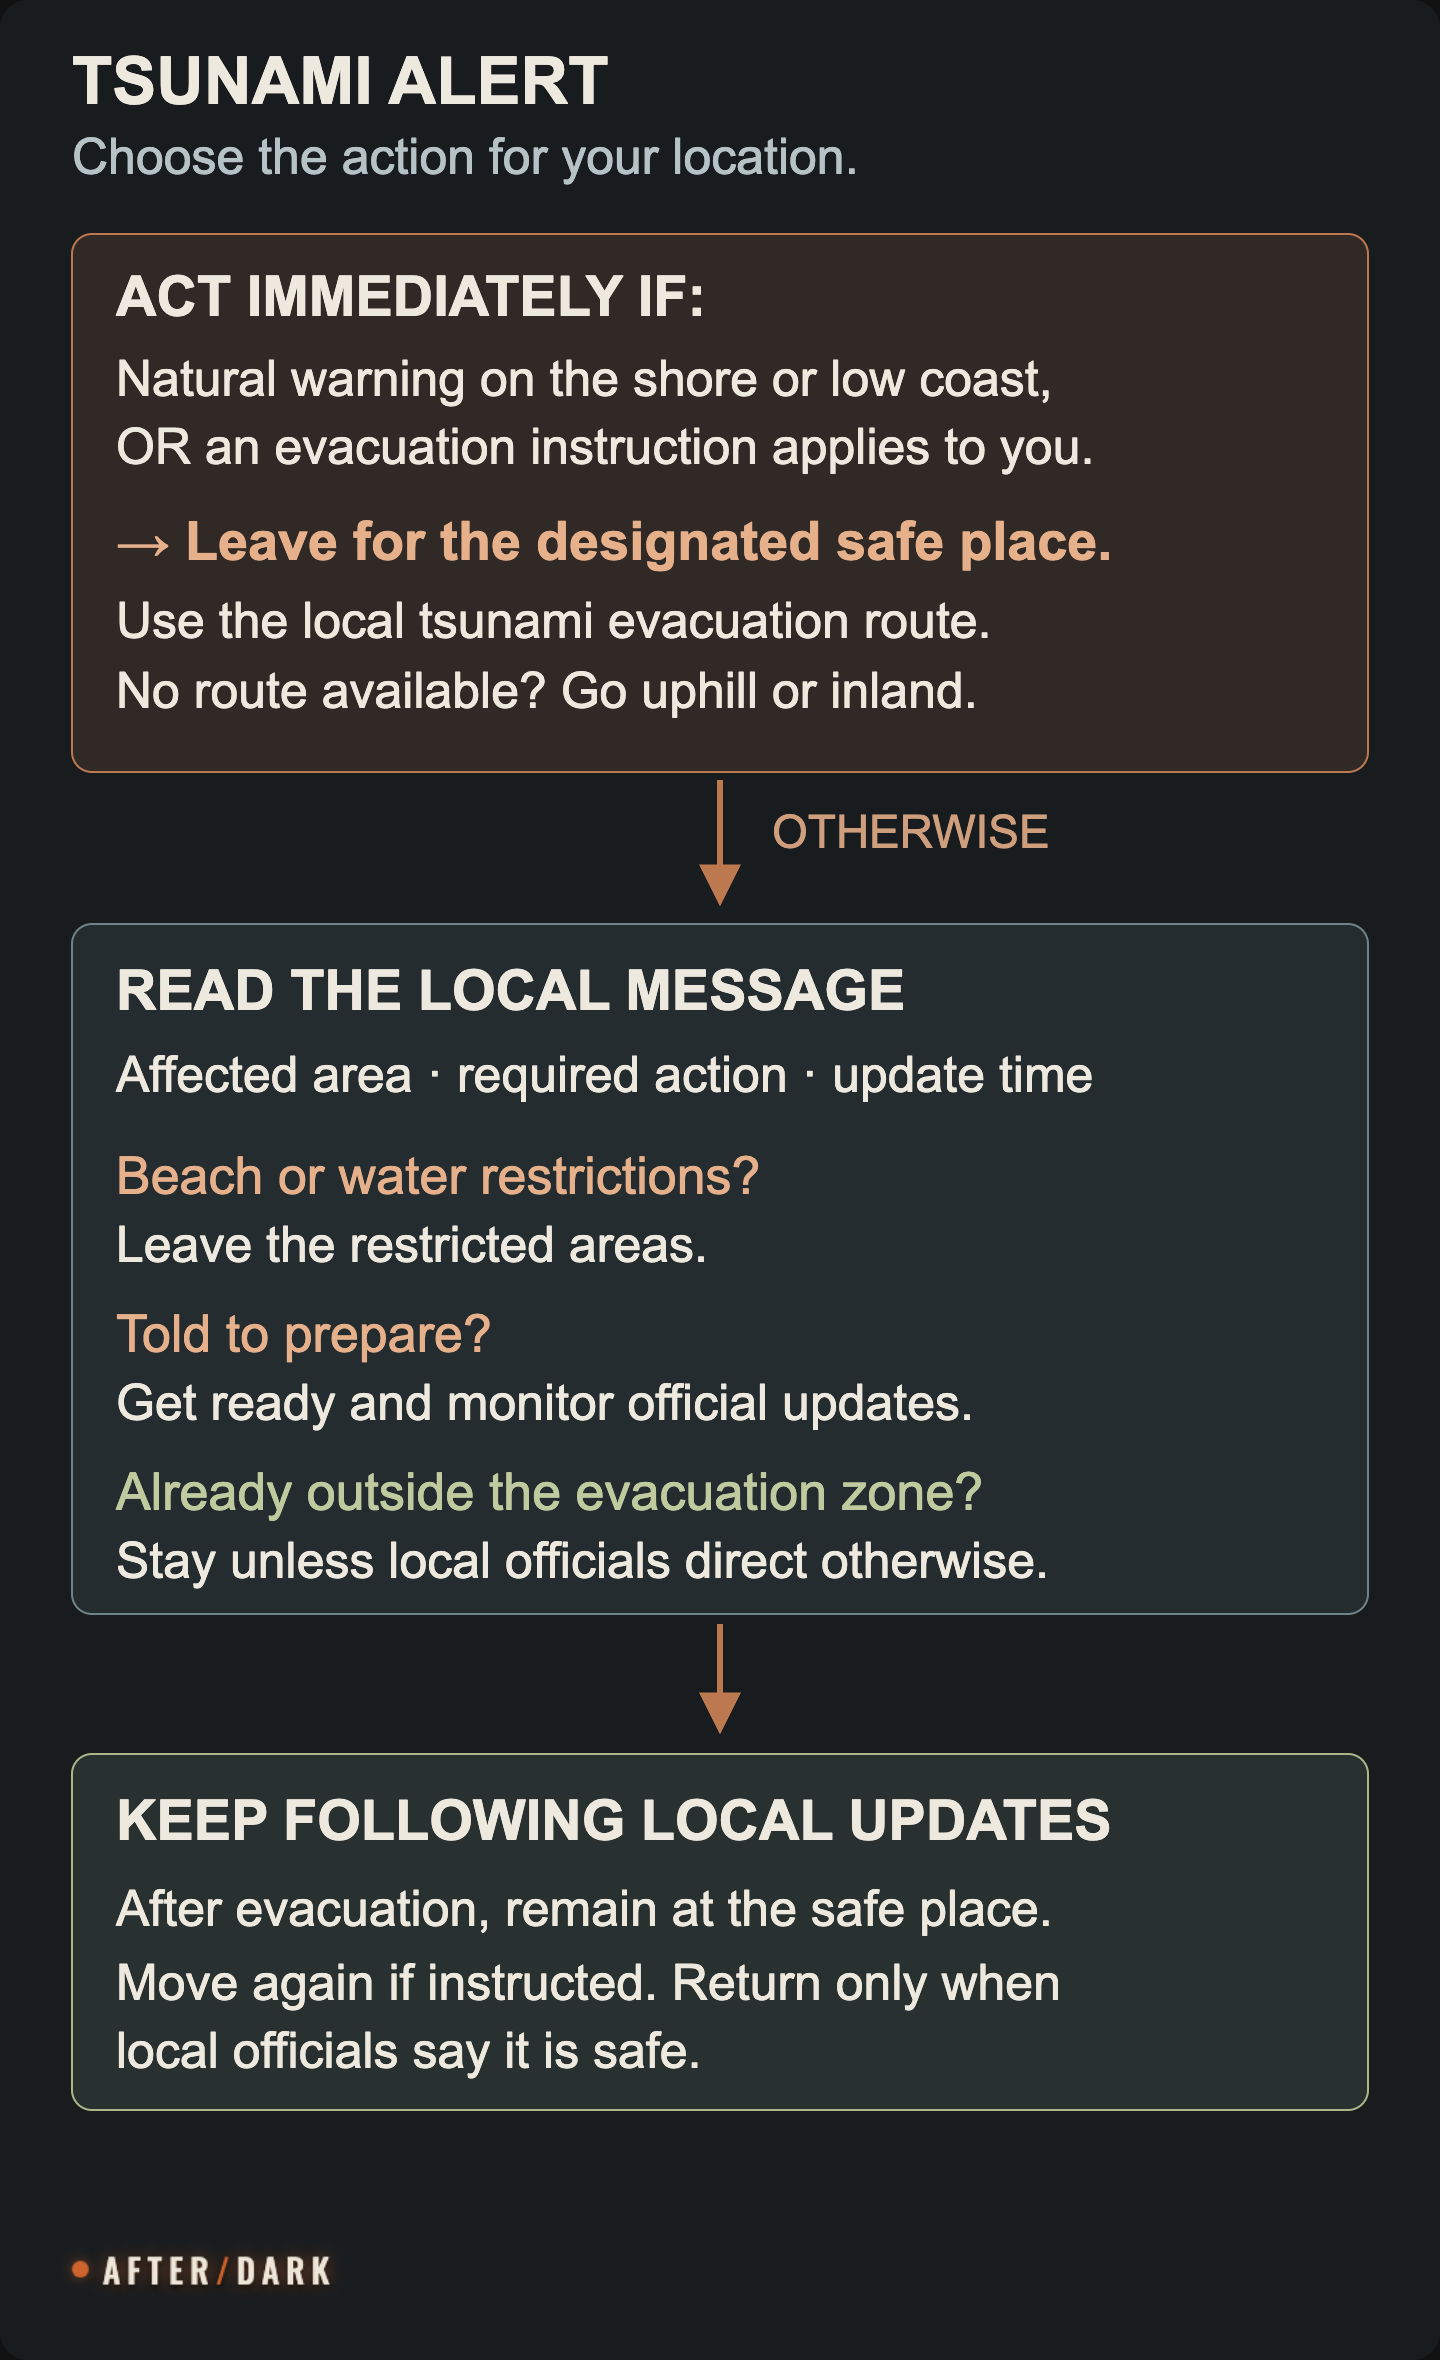
If a local evacuation instruction applies to your location, start following it. On the shore or in a low-lying coastal area, natural warning signs also require action: earthquake shaking, a sudden unusual rise or retreat of the sea, or a loud ocean roar. After shaking stops, move toward high ground or inland, using the local tsunami evacuation route where available. The natural warning may be the only warning you receive; do not wait to see a wave or get a second notification.
No phone, bag, or car? Leave with what you have. Follow tsunami evacuation arrows and any directions from officials already there. If no route information is available, move uphill or inland away from the coast instead of returning to accommodation for equipment. Once you have reached a safe location, use nearby staff, officials, or an available broadcast to obtain updates. Your first task is the move, not completing a kit.
If neither an urgent instruction nor a natural warning applies, read the alert to identify the required action. Do not assume every message with “tsunami” in it orders the same response.
Read the Tsunami Alert for Your Location
Look for three things in the full message, rather than relying on a cropped screenshot or headline:
- The place. Match the named coastline, district, beach, or evacuation zone to your present location. A warning for another part of a country does not identify your own street's instructions.
- The action. Find the instruction to evacuate, leave beaches and water, prepare, or monitor. Follow any route or destination supplied by local officials.
- The update. Check the issuing authority and issue time, including the time zone when travelling. When sharing a message, preserve those details and its full geographic scope.
National messages can describe a broad threat while local authorities specify which zones must move. New Zealand's warning system explicitly separates national threat information from local evacuation decisions. Use the responsible authority for the place you are visiting, rather than treating a foreign warning centre's bulletin as local directions.
What the alert levels mean
The following terms belong to the US and Canadian warning system. The official alert definitions distinguish flooding risk from dangerous coastal currents and from a threat still being assessed.
US and Canadian tsunami alert levels and the action each calls for.
| Alert | Meaning | Your next step |
|---|---|---|
| Warning | Dangerous coastal flooding and powerful currents are possible or occurring. | If you are in the affected hazard or evacuation zone, move to the designated safe location and follow local directions. |
| Advisory | Dangerous currents and waves may affect the water and nearby shore. | Leave the water, beaches, and restricted waterways; follow any additional local instruction. |
| Watch | A tsunami is possible; the threat is still being evaluated. | Monitor official updates and prepare to act. Follow any local instruction that arrives. |
| Information statement | An event occurred, but there is no threat or a distant threat is not yet determined. | Read the actual statement and any follow-up; do not infer an evacuation order from the label alone. |
Do not translate those categories into a worldwide scale. Japan, for example, uses Major Tsunami Warning, Tsunami Warning, and Tsunami Advisory. Its warning instructions call for immediate evacuation from coastal or river areas. Read the action attached to the local term.
If you are already outside the evacuation zone
Stay where you are unless local officials direct otherwise. That is the NWS guidance for people outside the tsunami hazard or evacuation zone. Keep receiving updates, and postpone a planned journey into the affected area. Driving toward a coastal hotel to retrieve luggage would create a new exposure you do not currently have.
“Outside the zone” means your position relative to the local hazard map and current instructions. Being unable to see the ocean, standing on a raised road, or occupying an upper floor does not by itself establish that status.
Find Your Zone and a Recognizable Way Out
If the message tells you to prepare, use that time to establish where you are relative to the local evacuation zone. This is also useful after reaching safety. An urgent coastal warning takes priority over completing a map exercise.
Start with the local emergency-management or civil-defence authority's tsunami evacuation map, or a current map posted at your accommodation. In the United States, the official directory of tsunami maps links to state and territory resources. An inundation map shows areas modelled as potentially flooded; an evacuation map identifies areas people may need to leave and may show routes and assembly points. Use the local evacuation instructions to turn that information into a journey.
Work through the map in this order:
- Locate your present position. Use the street address, named beach entrance, campsite, or nearby intersection. A booking address elsewhere in town is not your starting point. Check a phone's marker against the names around you.
- Read the legend. Identify the boundary, zone names or colours, route arrows, and destination symbols. Use the legend on this map; colours from a previous holiday may mean something different here.
- Match the message to the zone. Find the zone or area named in the current instruction. If the map offers several scenarios, use the one local officials identify rather than choosing the smallest shaded area.
- Trace the complete route. Identify your first turn, the next clear landmark, and the designated endpoint. Check that the route starts on your side of a river, harbour, or other obstacle. A destination that looks close across the water may require a very different journey.
You should finish with something you can say aloud: “From this entrance, follow the evacuation arrows up Hill Road to the signed assembly area.” Save or photograph the relevant map if that is practical, including its legend. The purpose is to keep the route usable when the screen loses its connection.
If the boundary or instruction is unclear, ask a specific local question: “We are at this entrance. Does this zone's evacuation instruction apply here, and which way is the designated route?” During an immediate warning on the low coast, use the departure guidance above rather than remaining there to resolve a disputed map edge.
If the Message Says to Prepare to Evacuate
A preparation instruction gives you work to do before departure. Use it to remove delays, while continuing to receive updates. This checklist applies when the current instruction is to prepare and no natural warning requires immediate movement.
- Make departure physically possible. Put on suitable footwear and weather protection. Keep glasses, mobility aids, and other everyday essentials you rely on within reach. Someone who needs assistance should confirm the actual arrangement now: who is helping, where they will meet, and which route or transport they will use.
- Ready what is already available. Put a phone, charging cable or power bank, drinking water, a light, and useful documents or contact details in a manageable bag. Work with what you have. This is not a shopping list to complete before you can leave.
- Agree on the destination and travel method. Use the tsunami plan for your current location. Say the destination's name to everyone with you and identify who needs help reaching it. If your pet is with you, have its lead or carrier ready and check the onward accommodation arrangements.
- Choose how the group will receive the next instruction. Keep the relevant broadcast or official update channel available. Share the current instruction with companions who cannot hear, read, or understand it themselves.
- Be ready to stop preparing. When an evacuation instruction applies, use the route you have identified. Do not finish packing, charge a phone to full, or wait for a promised update time before acting on a newer instruction.
The practical foundation is portable essentials, an agreed destination, and a workable evacuation method. A useful readiness check is whether everyone present can name the destination and start the journey with the resources already there.
For example, during a prepare notice at a guesthouse, one person can obtain the posted route while another gathers the group's ready belongings and checks who needs assistance. Both need the same destination and update source. That is more useful than everyone independently refreshing several news feeds while no one knows which exit to use.
Follow the Local Evacuation Route to Its Destination
The destination should be the safe place identified by the local tsunami plan or officials. Follow the posted tsunami route and continue to its designated endpoint; reaching the first uphill street is not the same as completing the route.
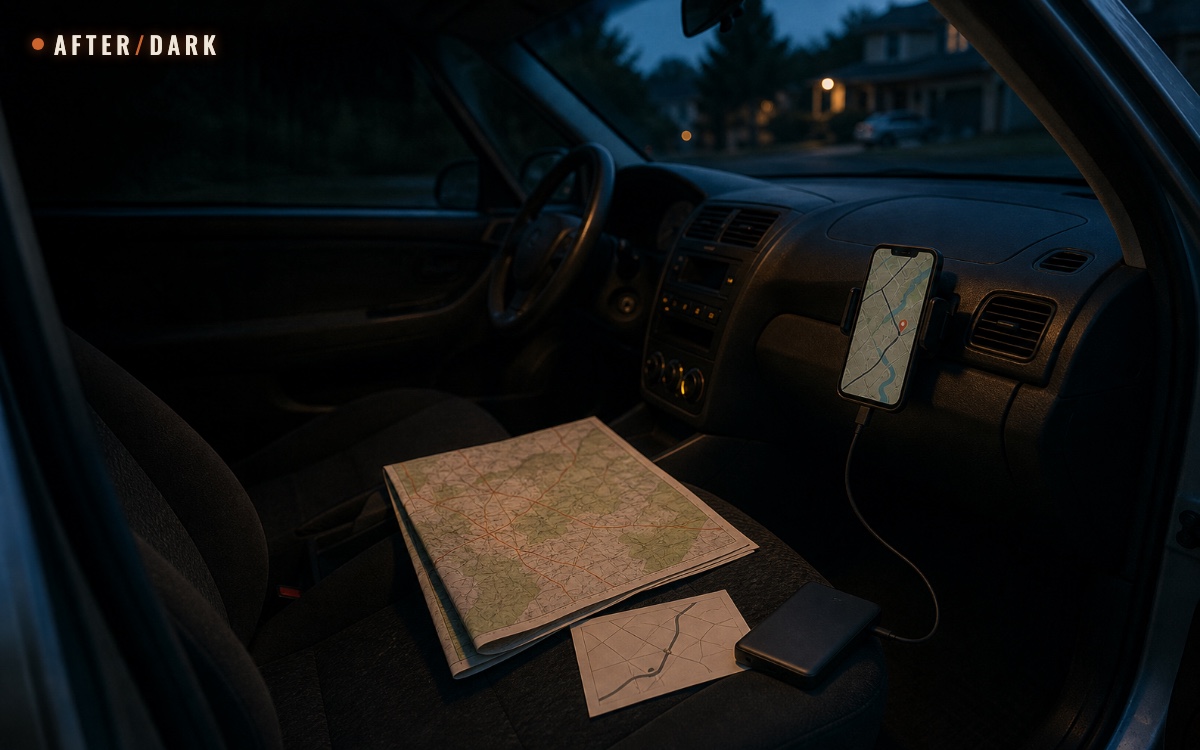
While moving, match the next street or landmark to your route, then keep following the signs. An ordinary navigation app can find a road without knowing that its destination or route lies inside a tsunami zone. Our guide to offline evacuation maps explains how to prepare the map and a paper backup before travel.
With no working data, use the saved map or paper copy you already have. If one person holds the usable map, ask them to explain the next turn to the group. Identify the landmark, then look ahead as you walk. Sharing that information keeps the route usable for companions who cannot see the screen or page.
When no evacuation information is available during an urgent coastal warning, head toward high ground or inland. Avoid substituting a universal number of metres or minutes for local geography. A nearby river mouth or low river corridor may remain exposed even away from the beach; Oregon's guidance notes that tsunami water can follow river channels.
Some places use designated tsunami evacuation buildings or structures. Follow the local signs and procedure for that specific refuge. Do not choose a building merely because it looks tall: the Japanese guidance names tsunami evacuation buildings, not any upper floor of any hotel.
If an official directs people to a different route or destination, follow that change. A downloaded map records the plan; it cannot report every new closure. Do not turn an unfamiliar shortcut through a restricted or obstructed area into your own replacement for the marked route.
Adapt the Move to What You Have
Visiting an unfamiliar coast
At a hotel, campsite, or attraction, ask a precise question: “Which tsunami evacuation route do we follow, and where does it end?” Ask staff to point to the route on the posted map or show the next sign if language is a barrier. Do this as part of leaving, without turning an urgent instruction into a lengthy discussion at reception.
Look for tsunami-specific maps and signs; a building's ordinary fire assembly point may serve a different purpose. Oregon's visitor guidance recommends checking posted evacuation information and the lodging's tsunami plan. If you are already away from the accommodation, use the route from your current position rather than going back to start there.
If you are travelling with a guide or organised group, establish which local evacuation procedure they are using and where you will be counted together. Tell the person coordinating the group if you leave with different companions, so that an outdated headcount does not turn into a search for someone already accounted for elsewhere.
No car, or difficulty using the route
Evacuate on foot if you can, following the local plan. Walking avoids dependence on a taxi arriving or vehicles moving through a bottleneck. Oregon's public guidance prefers evacuation on foot where possible. If officials direct a different transport arrangement, use their instructions.
A visitor on a waterfront path may have a signed uphill route immediately beside them while their rental car is several streets along the shore. The useful destination is the signed safe location. The car's location does not make it the first stop.
If you cannot use the route without assistance, tell nearby staff or responders immediately. State your exact location and what prevents the move: for example, “I am at the east entrance and cannot use the stairs.” Ask for the site's accessible evacuation arrangement or current assistance instructions. If a phone is available and you cannot evacuate safely, contact local emergency services. Do not assume a vehicle has been assigned simply because someone knows you are there.
Coordinate With Family Without Delaying the Move
If you are together
Before moving, make a quick check of who is actually with you. Give children a short explanation of the immediate task: the group is going to the named safe place together. Identify which adult is accompanying each child or person who needs support. At the endpoint, check the group again rather than assuming everyone followed the same path through a crowd.
Keep the first message to relatives simple. Once you are safe, send your location, who is with you, the local time, and what you are doing next. For example: “18:20 local time. Sam and I are at the Hill Road assembly area. Waiting here for instructions. Will update if we move.” This gives a later reader a useful record even if delivery is delayed.
If you are in different places
Each person needs to act on the instruction for their own location. Someone outside the zone should not head toward the waterfront simply because another family member is evacuating from there. First establish where each person has reached safety; arrange a meeting using those locations and current access instructions.
If calls fail, try a short text or another working channel, then a shared contact who may already have heard from the missing person. The contact options for separated families include messages, email, and mutual contacts. A sent message is not confirmation of receipt: ask for a brief reply when possible, and keep the most recent confirmed location distinct from an unanswered message.
If you already have a household communication plan, use its agreed contact and relay arrangement. If you have no plan, exchange one reachable contact number and one identifiable safe waiting location when a connection becomes available. Avoid making several conflicting pickup arrangements through different relatives.
If a child is at school or an organised activity
Obtain the institution's current evacuation and reunification instructions through its published emergency channel or the local authority. Establish the school's assembly area and later pickup arrangements; the normal school gate may no longer be the relevant destination.
Check three details: where the group has been taken, when collection is permitted, and what the receiving staff need from the collecting adult. Follow that process instead of arranging a separate meeting directly with a child who is being supervised. If you cannot establish contact, tell the officials assisting you which institution and child you are trying to locate.
If someone remains unaccounted for
Ask the officials at your safe location how to report the separation or access the current reunification service. Have the person's name, last confirmed place and time, companions, and contact details ready. Distinguish what you know from where you think they might have gone. If you have information suggesting immediate danger, report it through the local emergency channel rather than relying on a family group chat.
In the United States, the Red Cross may assist households separated by a disaster through its reunification process. Ask the local service about eligibility and what happens after a request is submitted.
Once You Have Reached the Safe Location
Establish how you will hear the next instruction
Find the source of continuing instructions: an official at the assembly area, a local emergency broadcast, or the responsible authority's current updates. If staff are present, ask where announcements will be made and whether arrivals should register or report to a particular point.
For a group with several working devices, agree who is following official updates and how they will pass on a changed instruction. This avoids everyone spending their attention and battery on the same stream of repeated reports. Keep routine calls brief so communications remain available for urgent needs.
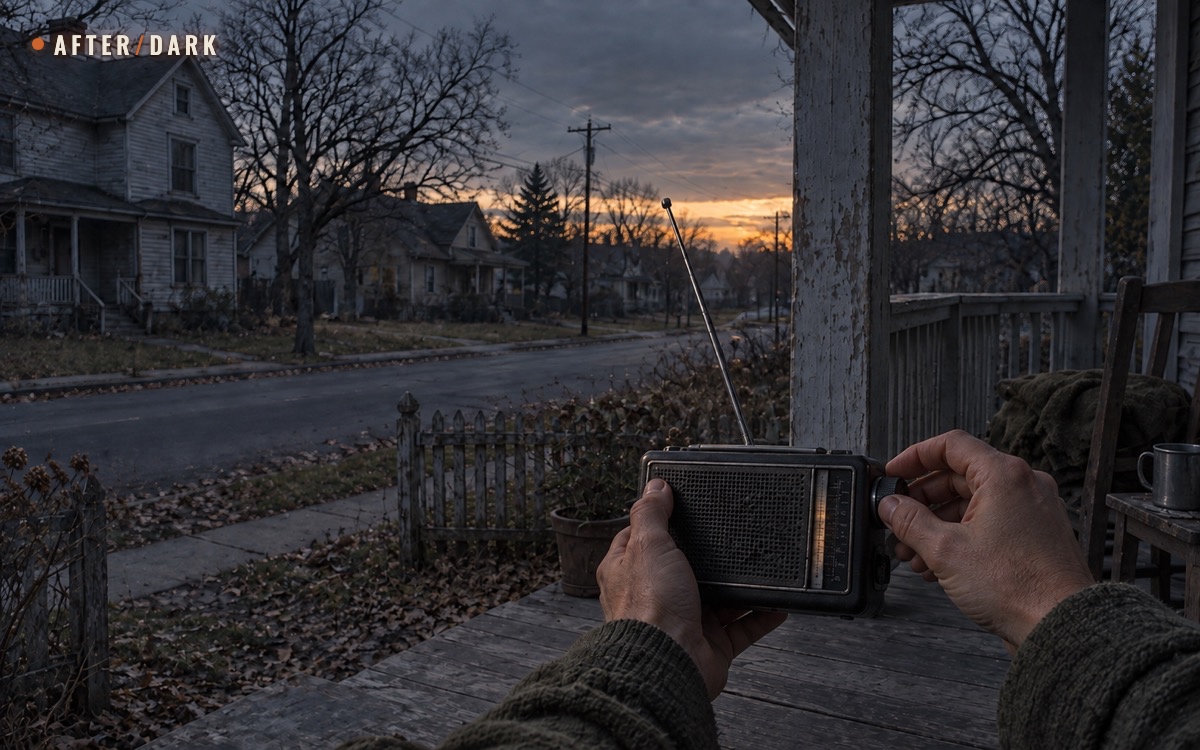
Without your own phone or radio, ask staff or someone already at the safe location to relay the next official update. If you have a receiver, use the identified local broadcast; the emergency radio setup guide explains how to prepare that option. Silence from a device does not tell you whether a restriction has ended.
Find accommodation if the wait continues
A tsunami assembly point may be an outdoor place to reach quickly. Do not assume it has beds, water, or an overnight shelter. Once there, establish whether people should remain, move to an opened reception centre, or use another locally approved arrangement.
Ask the people coordinating the response:
- Which accommodation or shelter is open now, and how should we reach it?
- What transport or accessible route is available for someone who cannot make that move independently?
- Where can we obtain drinking water, food, weather protection, or help contacting relatives?
- What arrangements apply to pets travelling with us?
In the United States, Red Cross shelters provide disaster assistance without requiring identification. You can ask for help even if you left without belongings or do not need a bed. Other countries and providers have their own arrangements, so ask the operator about what is available rather than assuming every centre offers the same services.
If officials permit onward travel to private accommodation, check both the destination and the journey against current restrictions. Confirm someone can receive you before arranging a pickup. A room being available online does not establish that its road is open or that it is outside the affected zone.
When you move onward, update the relative or contact who has your earlier location. Give the new destination and who is travelling with you.
Wait for permission that covers your destination
Remain in the safe location unless officials authorize onward movement or a return. A warning may be downgraded while coastal restrictions continue, and local access decisions may differ from a broad alert cancellation. The NWS says to return only when local officials say it is safe.
Before leaving the waiting location, check that the notice applies to the area you intend to enter and that your route is open. Permission to return to one neighbourhood does not describe access to every beach, harbour, hotel, or road along the coast. If the message still leaves your destination restricted, continue the accommodation arrangement you have made.
Do not judge the end of the event by a quiet interval or a small first wave. A tsunami is a series of waves, and later waves can be larger than the first. The useful end point is a local instruction permitting the next move, followed by a clear plan for where you and your companions will go.
Frequently Asked
Does a tsunami warning matter if I felt no earthquake?
Why did someone nearby receive a mobile alert when I did not?
Can I wait until the forecast arrival time to leave?
Sources
- National Weather Service — Understanding Tsunami Alerts
- National Weather Service — During a Tsunami
- American Red Cross — Tsunami Preparedness
- Japan Meteorological Agency — Tsunami Warning/Advisory and Tsunami Information
- Oregon DOGAMI — Tsunami Clearinghouse: Steps for Visitors
- Oregon Health Authority — Tsunamis
- National Weather Service — Before a Tsunami
- New Zealand NEMA — Tsunami Warnings and Advisories: A Public Information Guide
- National Weather Service — About Tsunamis
- National Tsunami Hazard Mitigation Program — Tsunami Evacuation and Inundation Maps
- New Zealand NEMA — Have to Evacuate
- American Red Cross — Contact and Locate Loved Ones
- American Red Cross — Find an Open Shelter
Related guides
How to Prepare Offline Maps for an Emergency Evacuation
Build a three-layer navigation pack that keeps household routes, destinations, and decision points usable when mobile data is unavailable.
How to Choose and Set Up an Emergency Radio
Match a receiver to local broadcasts, find a reliable listening position, and test its controls, alert settings, and backup power before a long outage.
How to Build an Emergency Communication Plan
Create a household contact system that still works when phones, power, internet, or normal meeting routines become unreliable.